Pest Control CMS — Admin Setup Walkthrough
A step-by-step guide showing how a pest control business owner sets up their entire website using LuperIQ CMS — from first login to fully operational, no programming required.
This walkthrough follows a fresh install of the LuperIQ CMS for a pest control company. We set up General Pest Co., a full-service pest control provider in Fort Worth, TX. Every step is shown with real screenshots — this is exactly what you see when you log in for the first time.
Time to complete: About 15 minutes from login to a fully operational website with services, booking, pest control data, and technician management.
STEP 1 First Login
After your LuperIQ CMS account is created, you log in at your site’s admin URL. The login page is clean and simple — just email and password.

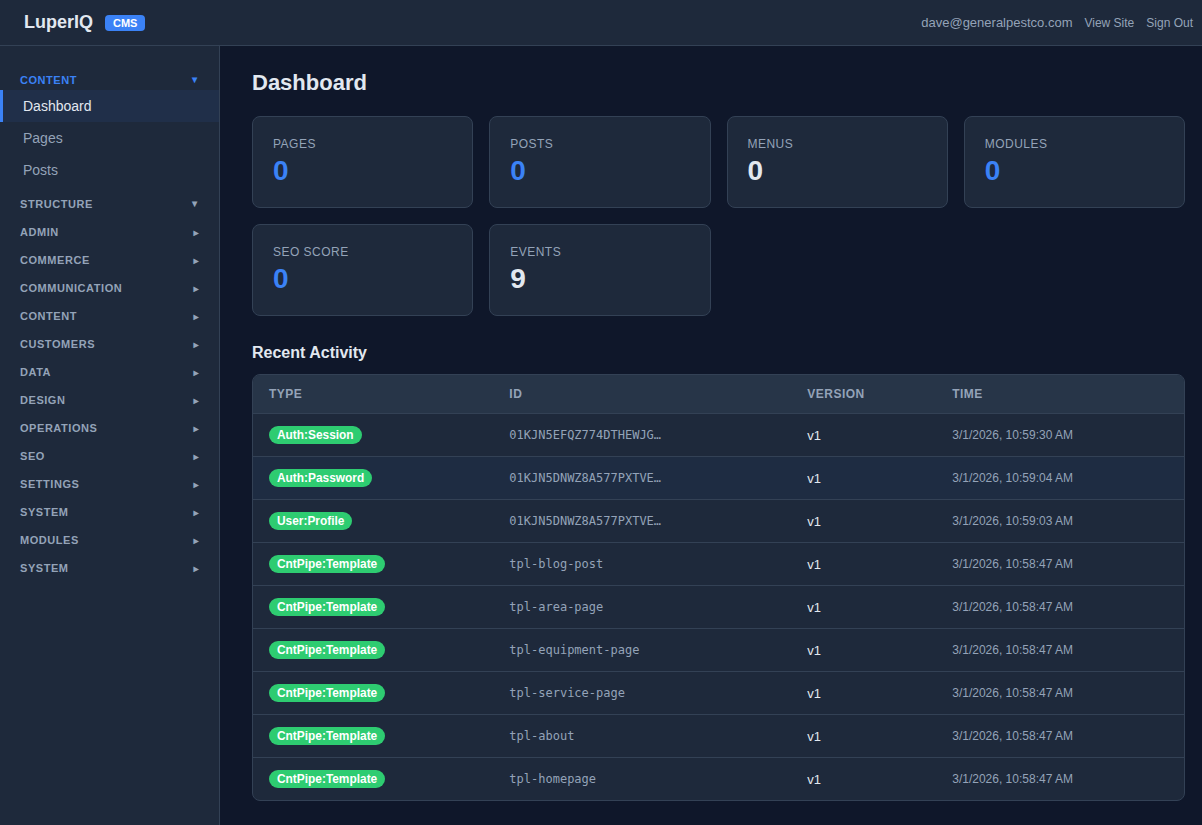
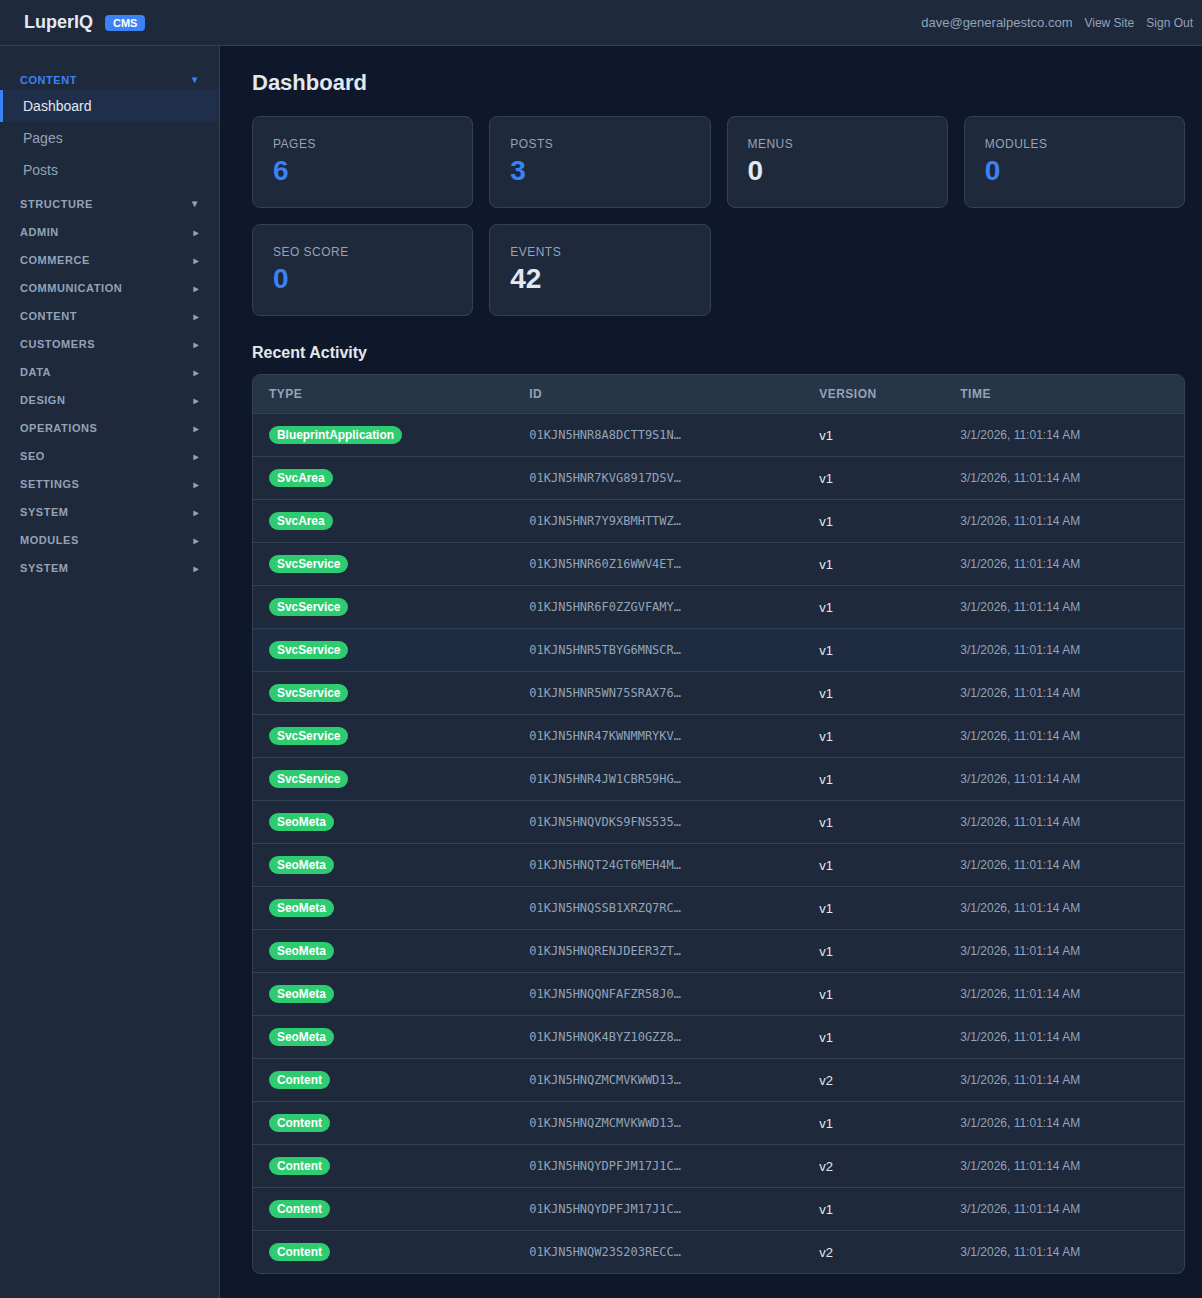
STEP 2 Empty Dashboard
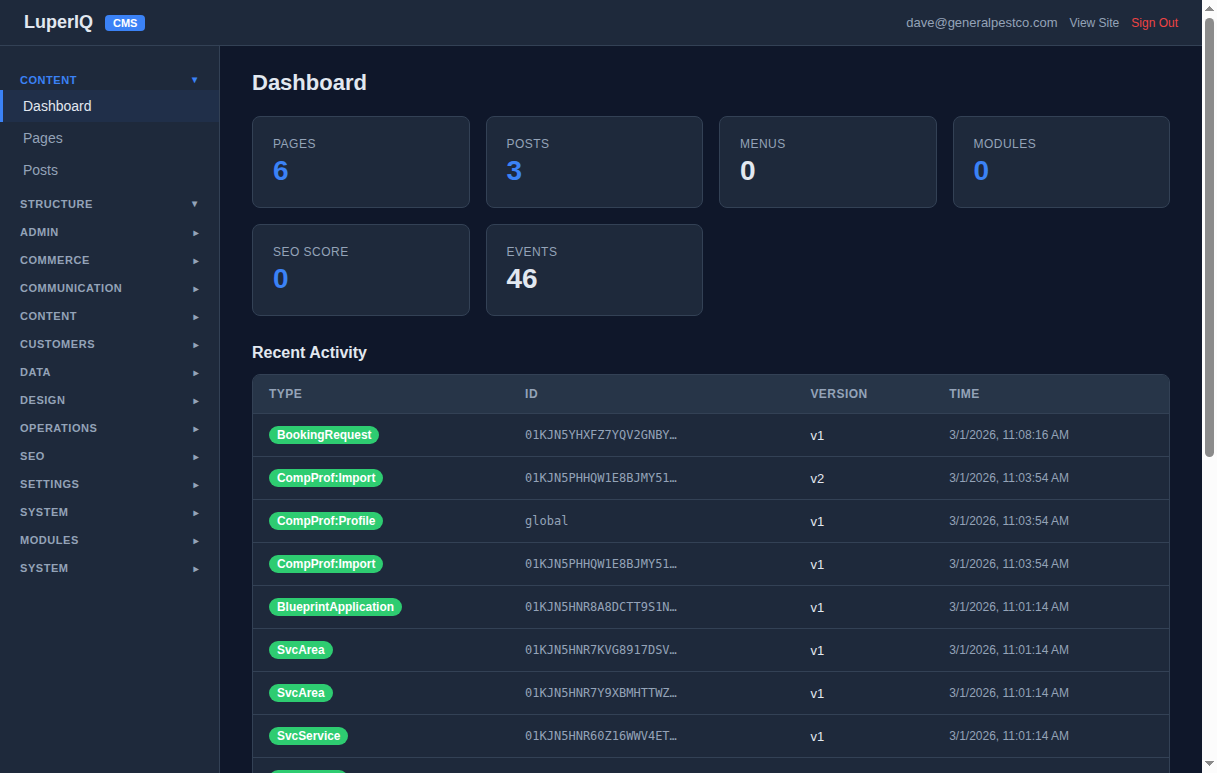
After logging in, you see the admin dashboard. On a fresh install, everything starts at zero — no pages, no posts, no content. The dashboard shows your stats and recent activity at a glance.
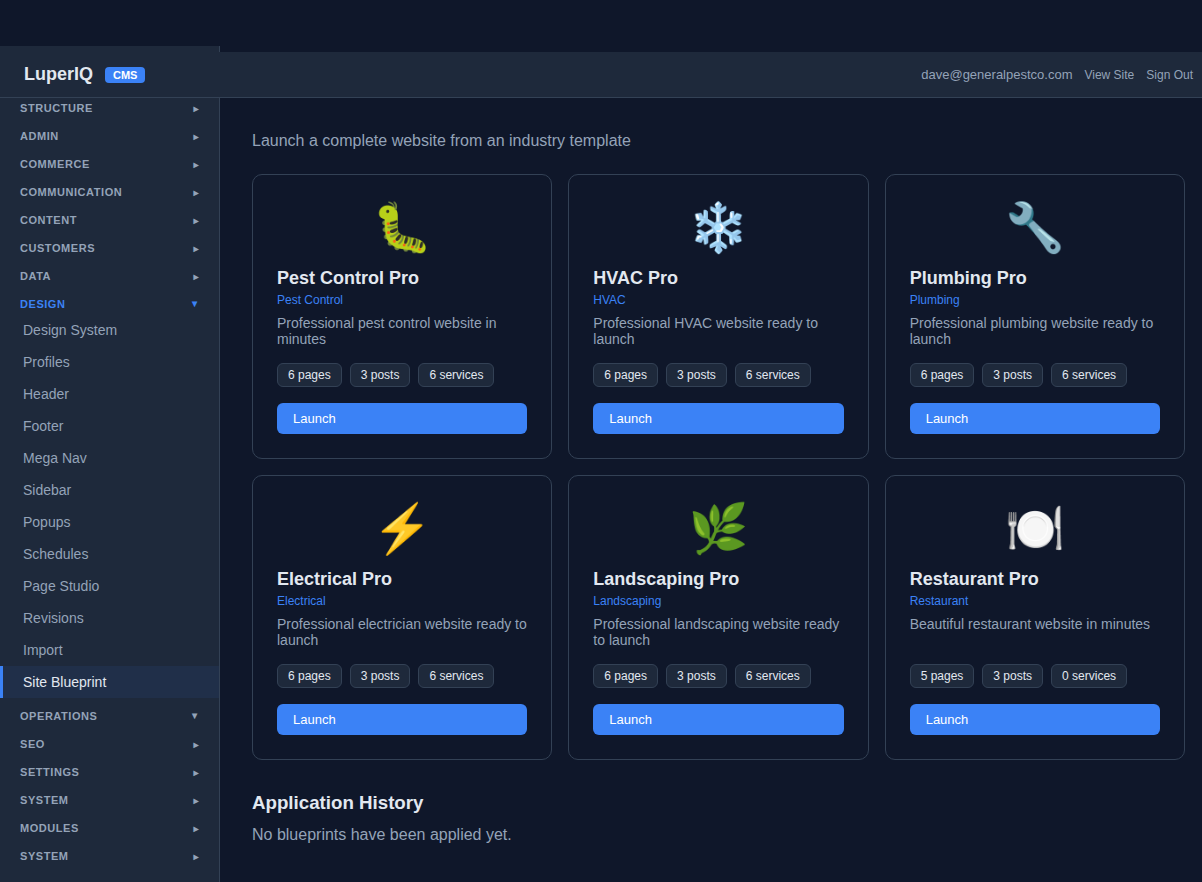
STEP 3 Choose Your Industry Blueprint
Navigate to Design → Site Blueprint in the sidebar. You’ll see six industry templates, each designed for a specific type of business. For a pest control company, click Launch on Pest Control Pro.
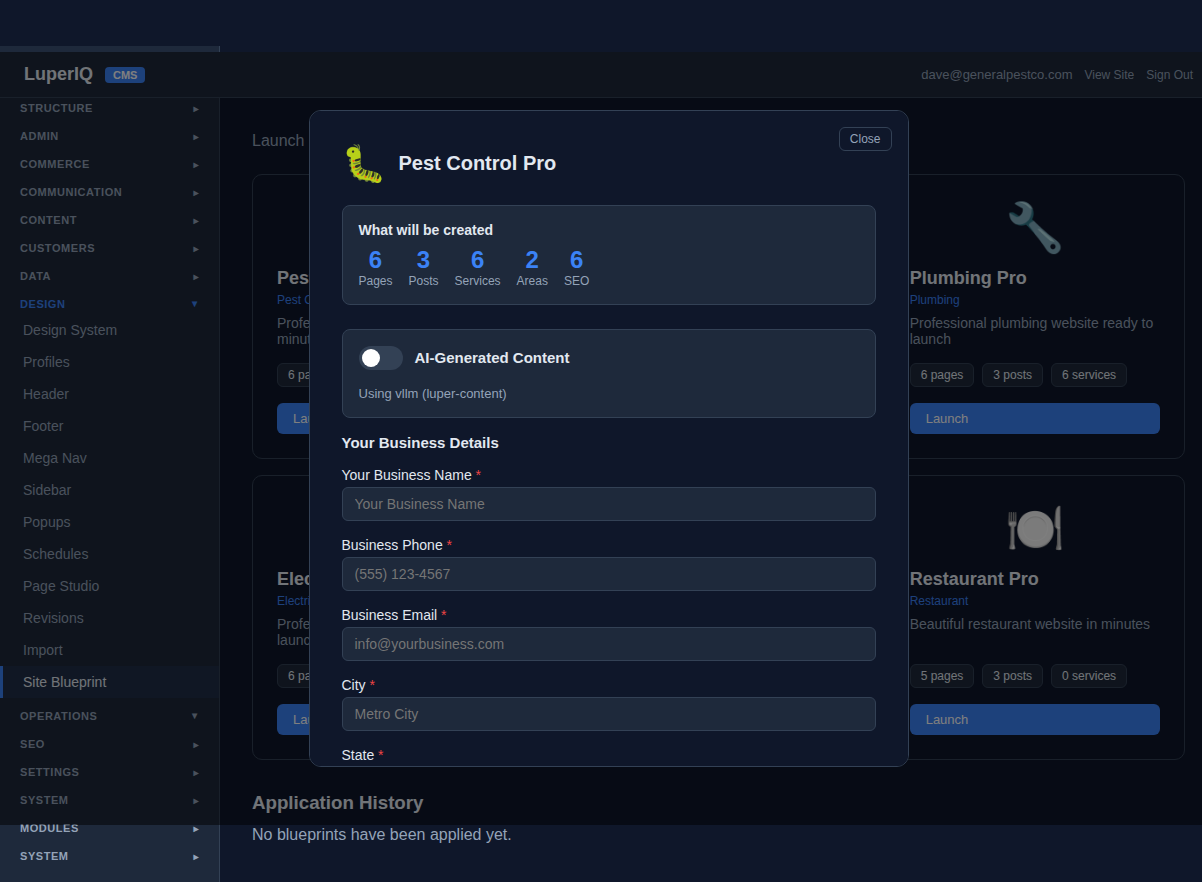
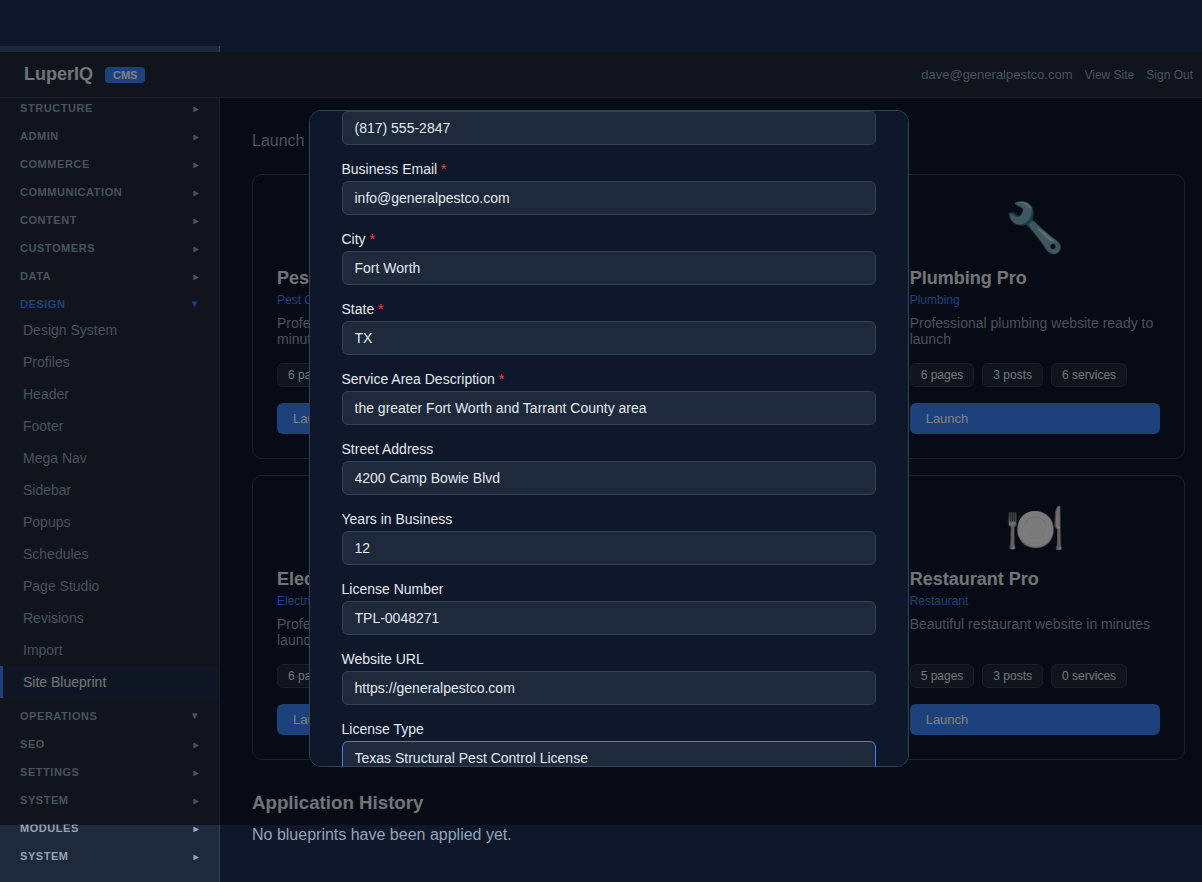
STEP 4 Fill In Your Business Details
A launch modal appears showing exactly what will be created: 6 Pages, 3 Blog Posts, 6 Services, 2 Service Areas, and 6 SEO entries. Fill in your business details — name, phone, email, city, service area, and license number. These get woven into every page automatically.
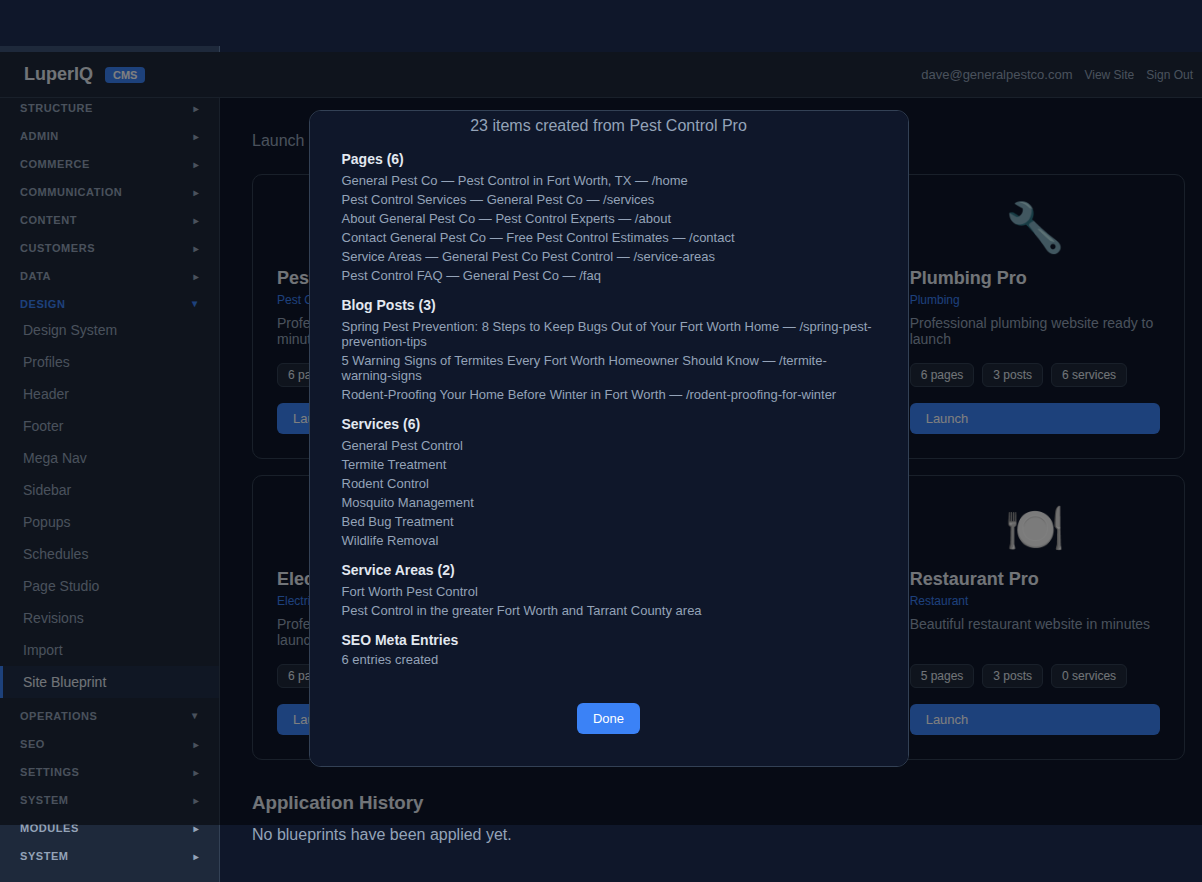
STEP 5 Blueprint Applied — 23 Items Created
Click Apply Blueprint and in under a second, your entire website structure is built. The success screen shows every item that was created — pages, blog posts, services with pricing, service areas, and SEO entries.
Back on the dashboard, you can see the numbers have jumped: 6 Pages, 3 Posts, 42 Events.
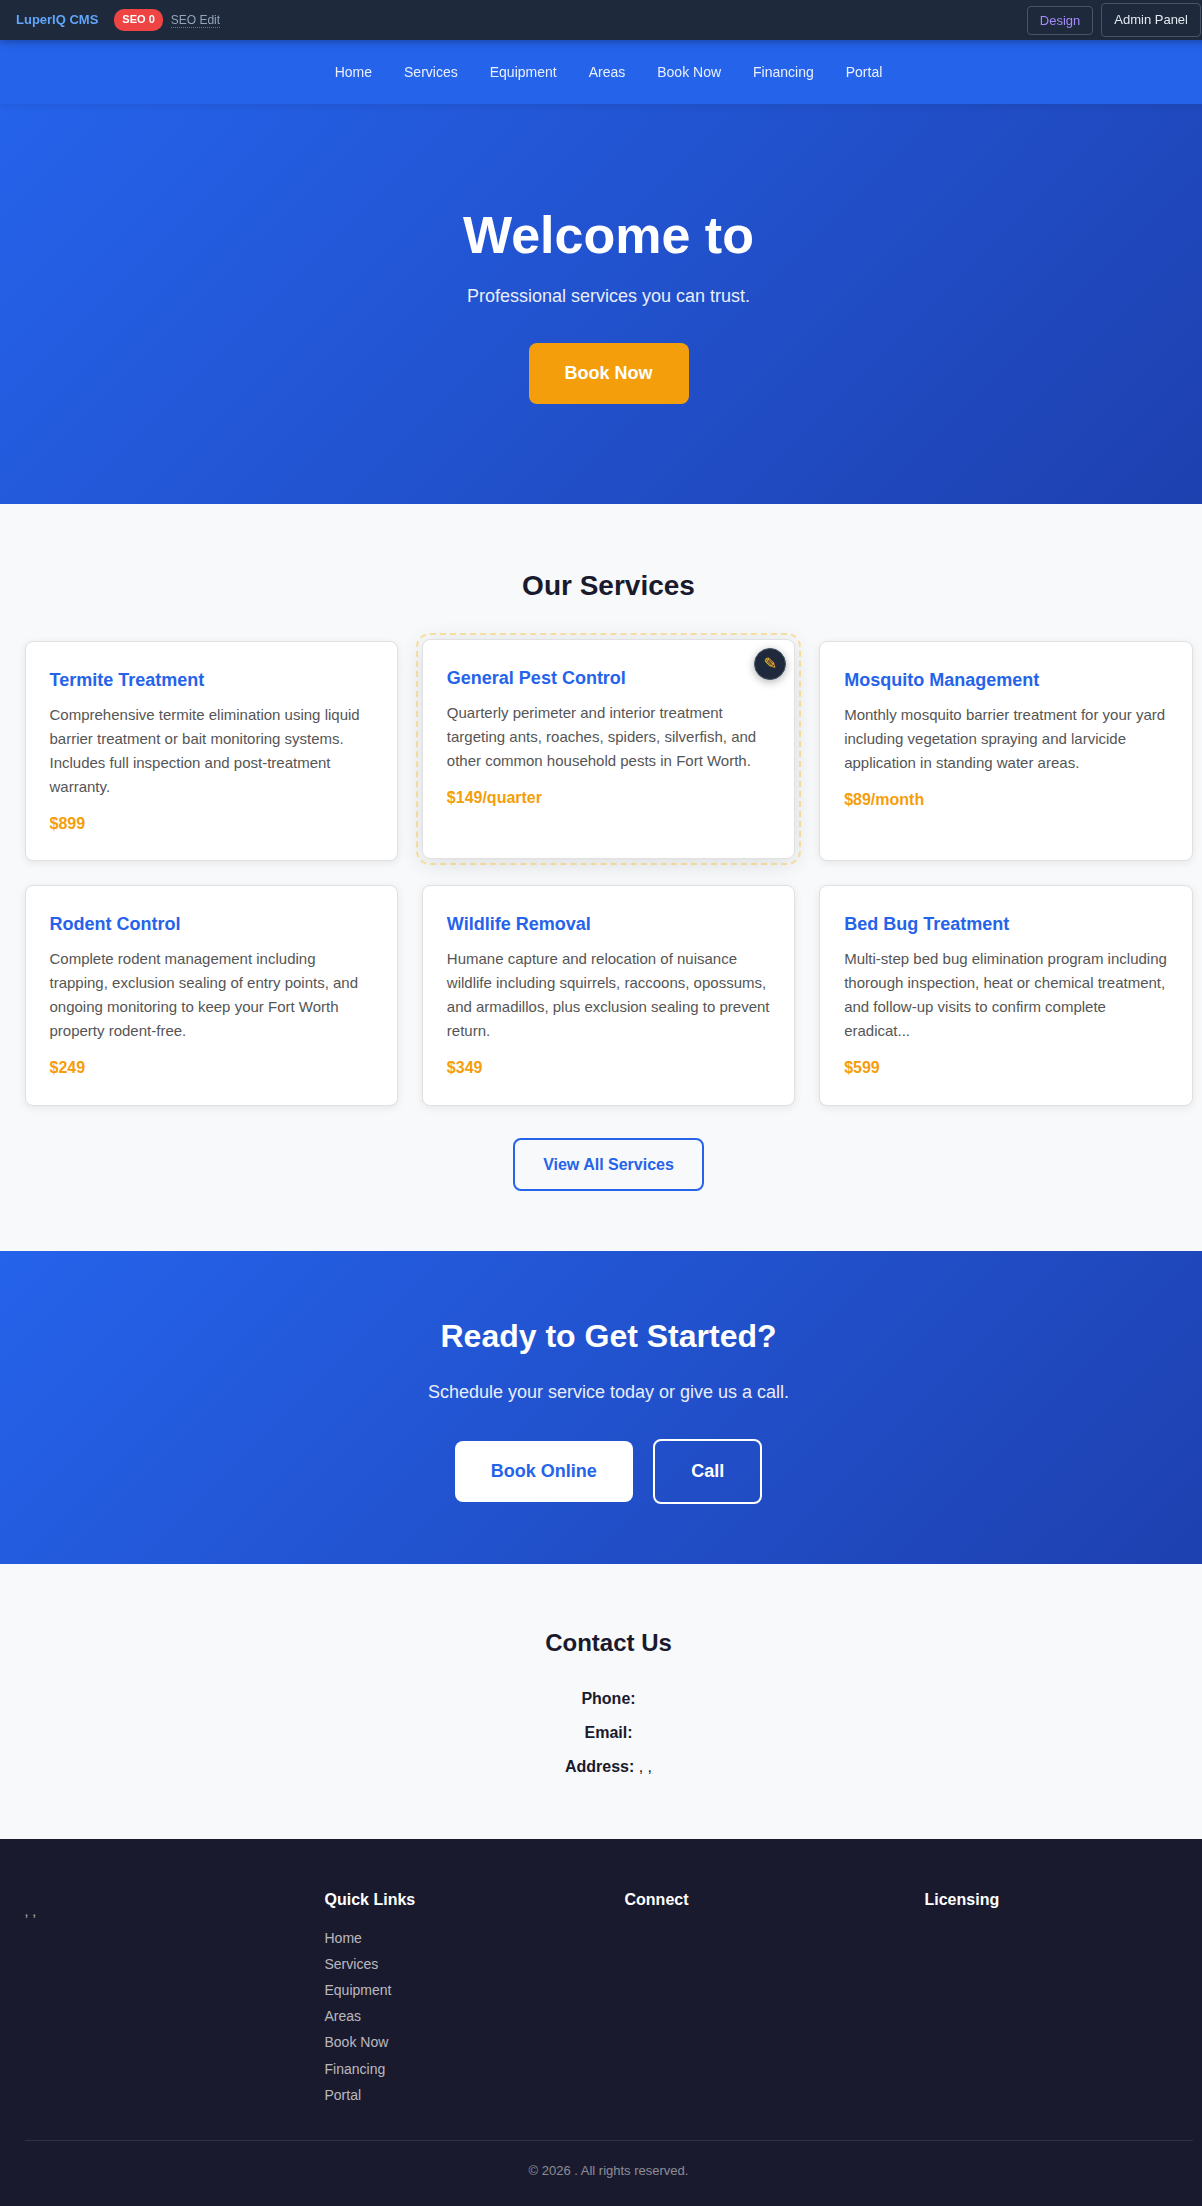
STEP 6 Your Public Website (Almost Ready)
Let’s check the public site. The homepage already has a hero section with your tagline, a services grid with real pricing, and a “Book Now” call-to-action. But notice — the company name in the header and footer is still blank. That’s because we haven’t filled in the Company Profile yet.
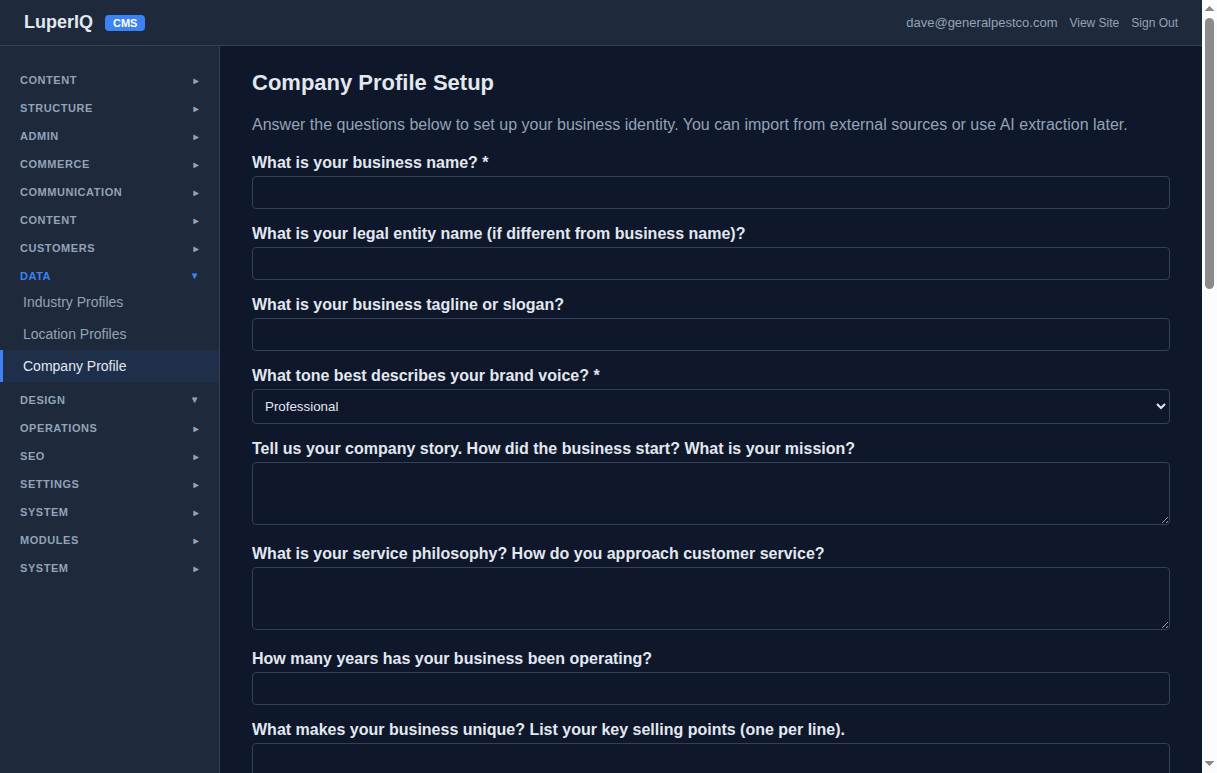
STEP 7 Complete Your Company Profile
Navigate to Data → Company Profile in the admin. This is where you tell the system everything about your business — your story, your certifications, your brand voice. It’s a simple questionnaire, not a technical form.
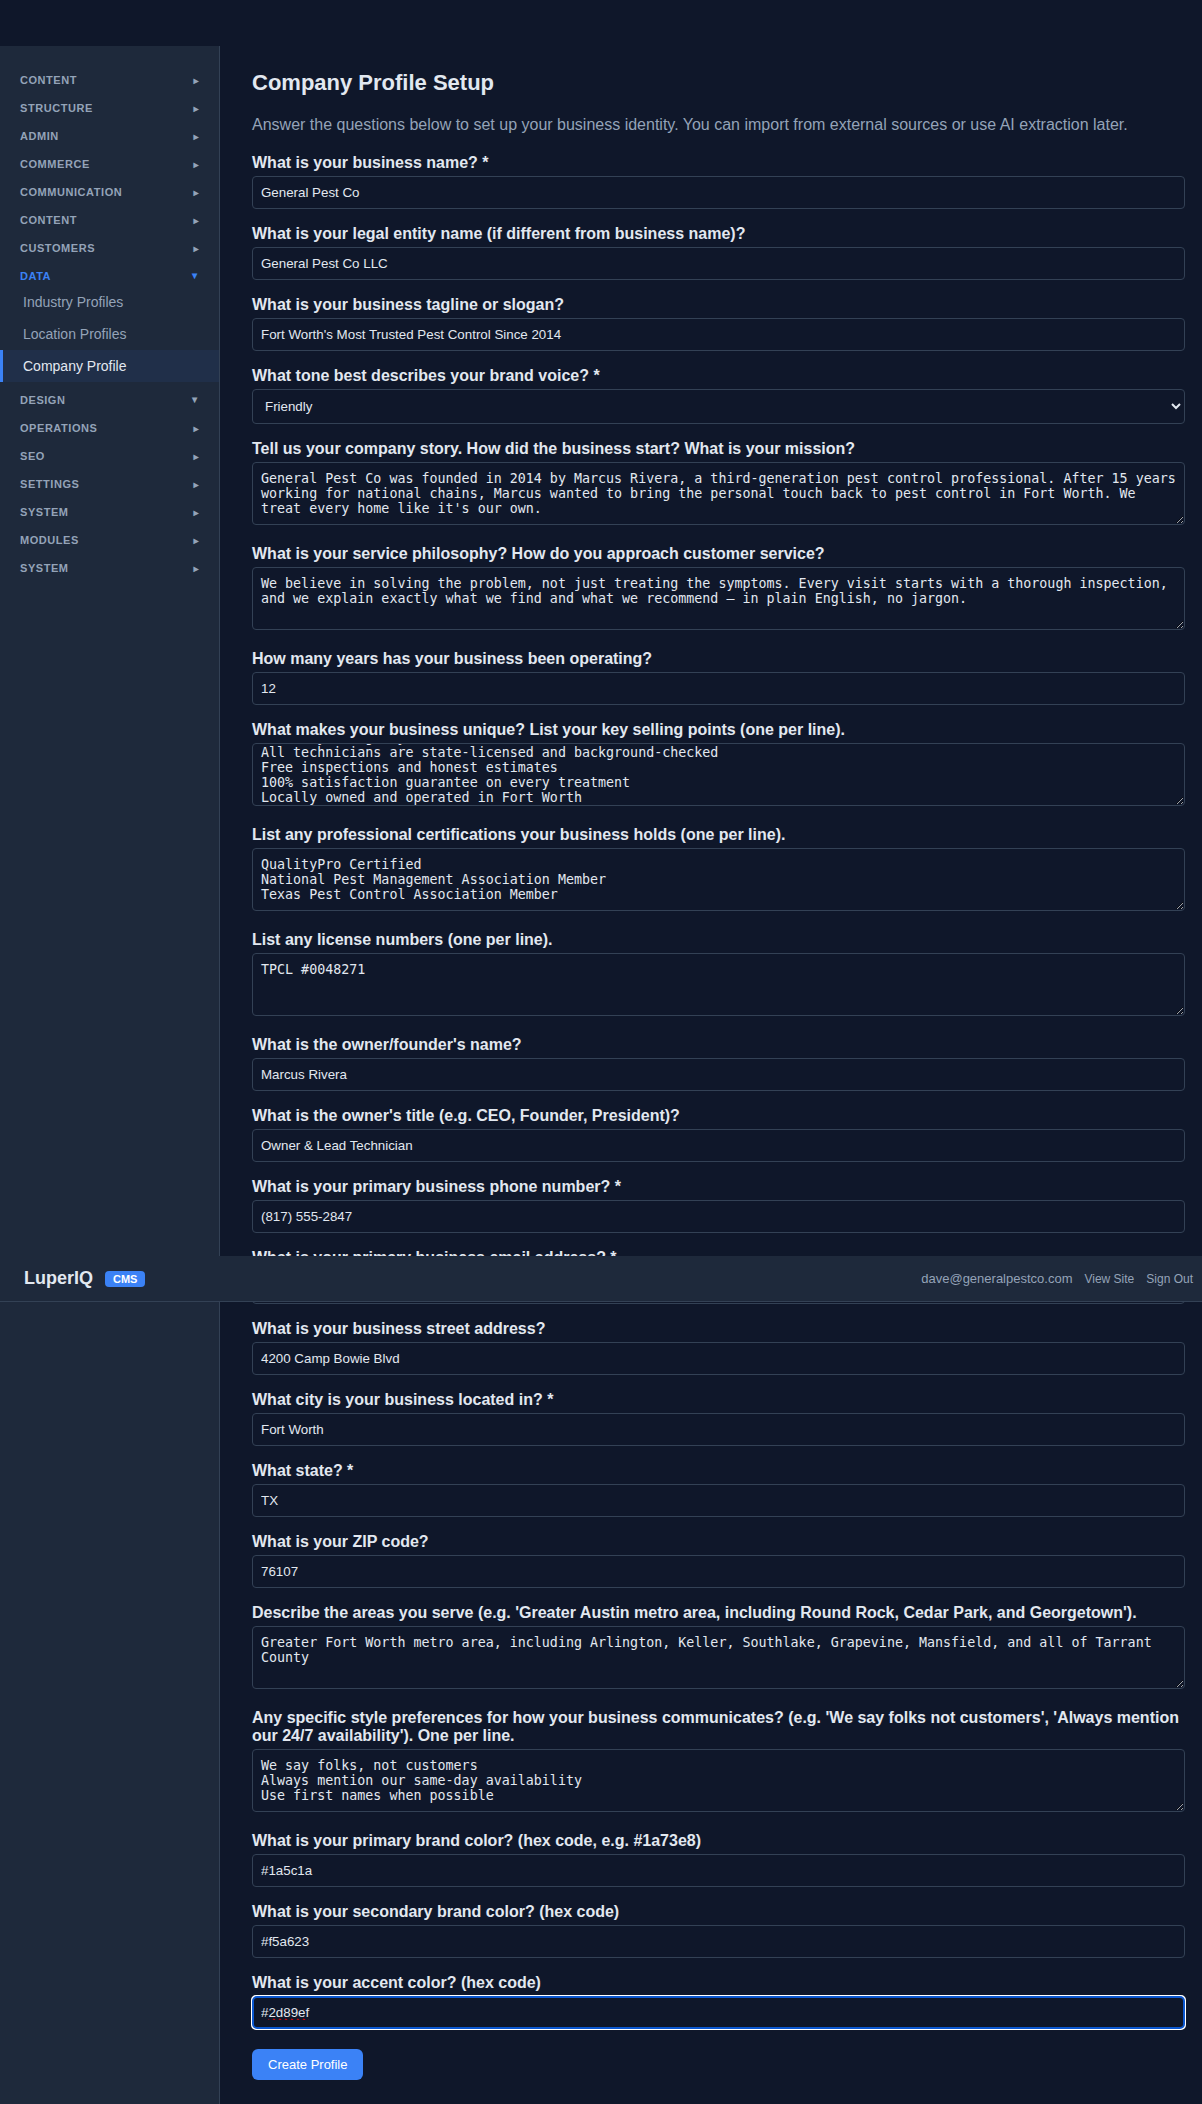
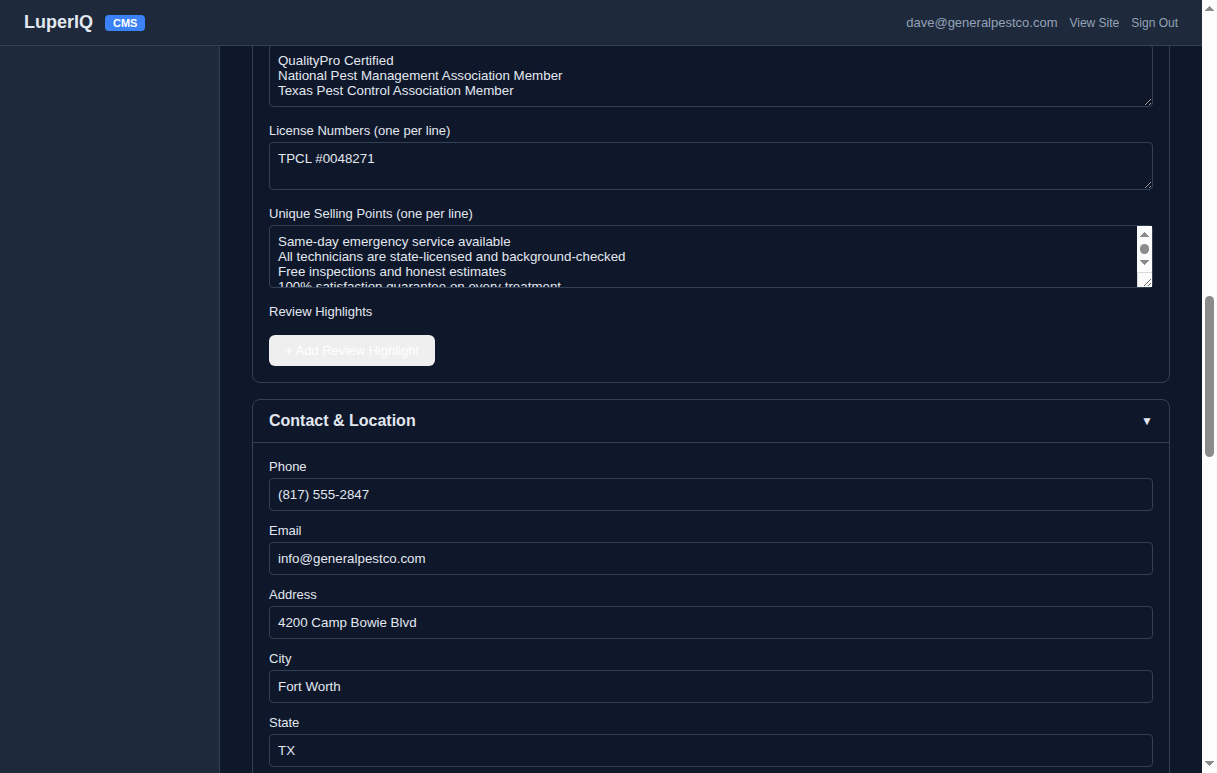
Click Create Profile and your company identity is saved. The system shows it organized into sections: Trust Signals, Contact, and more.
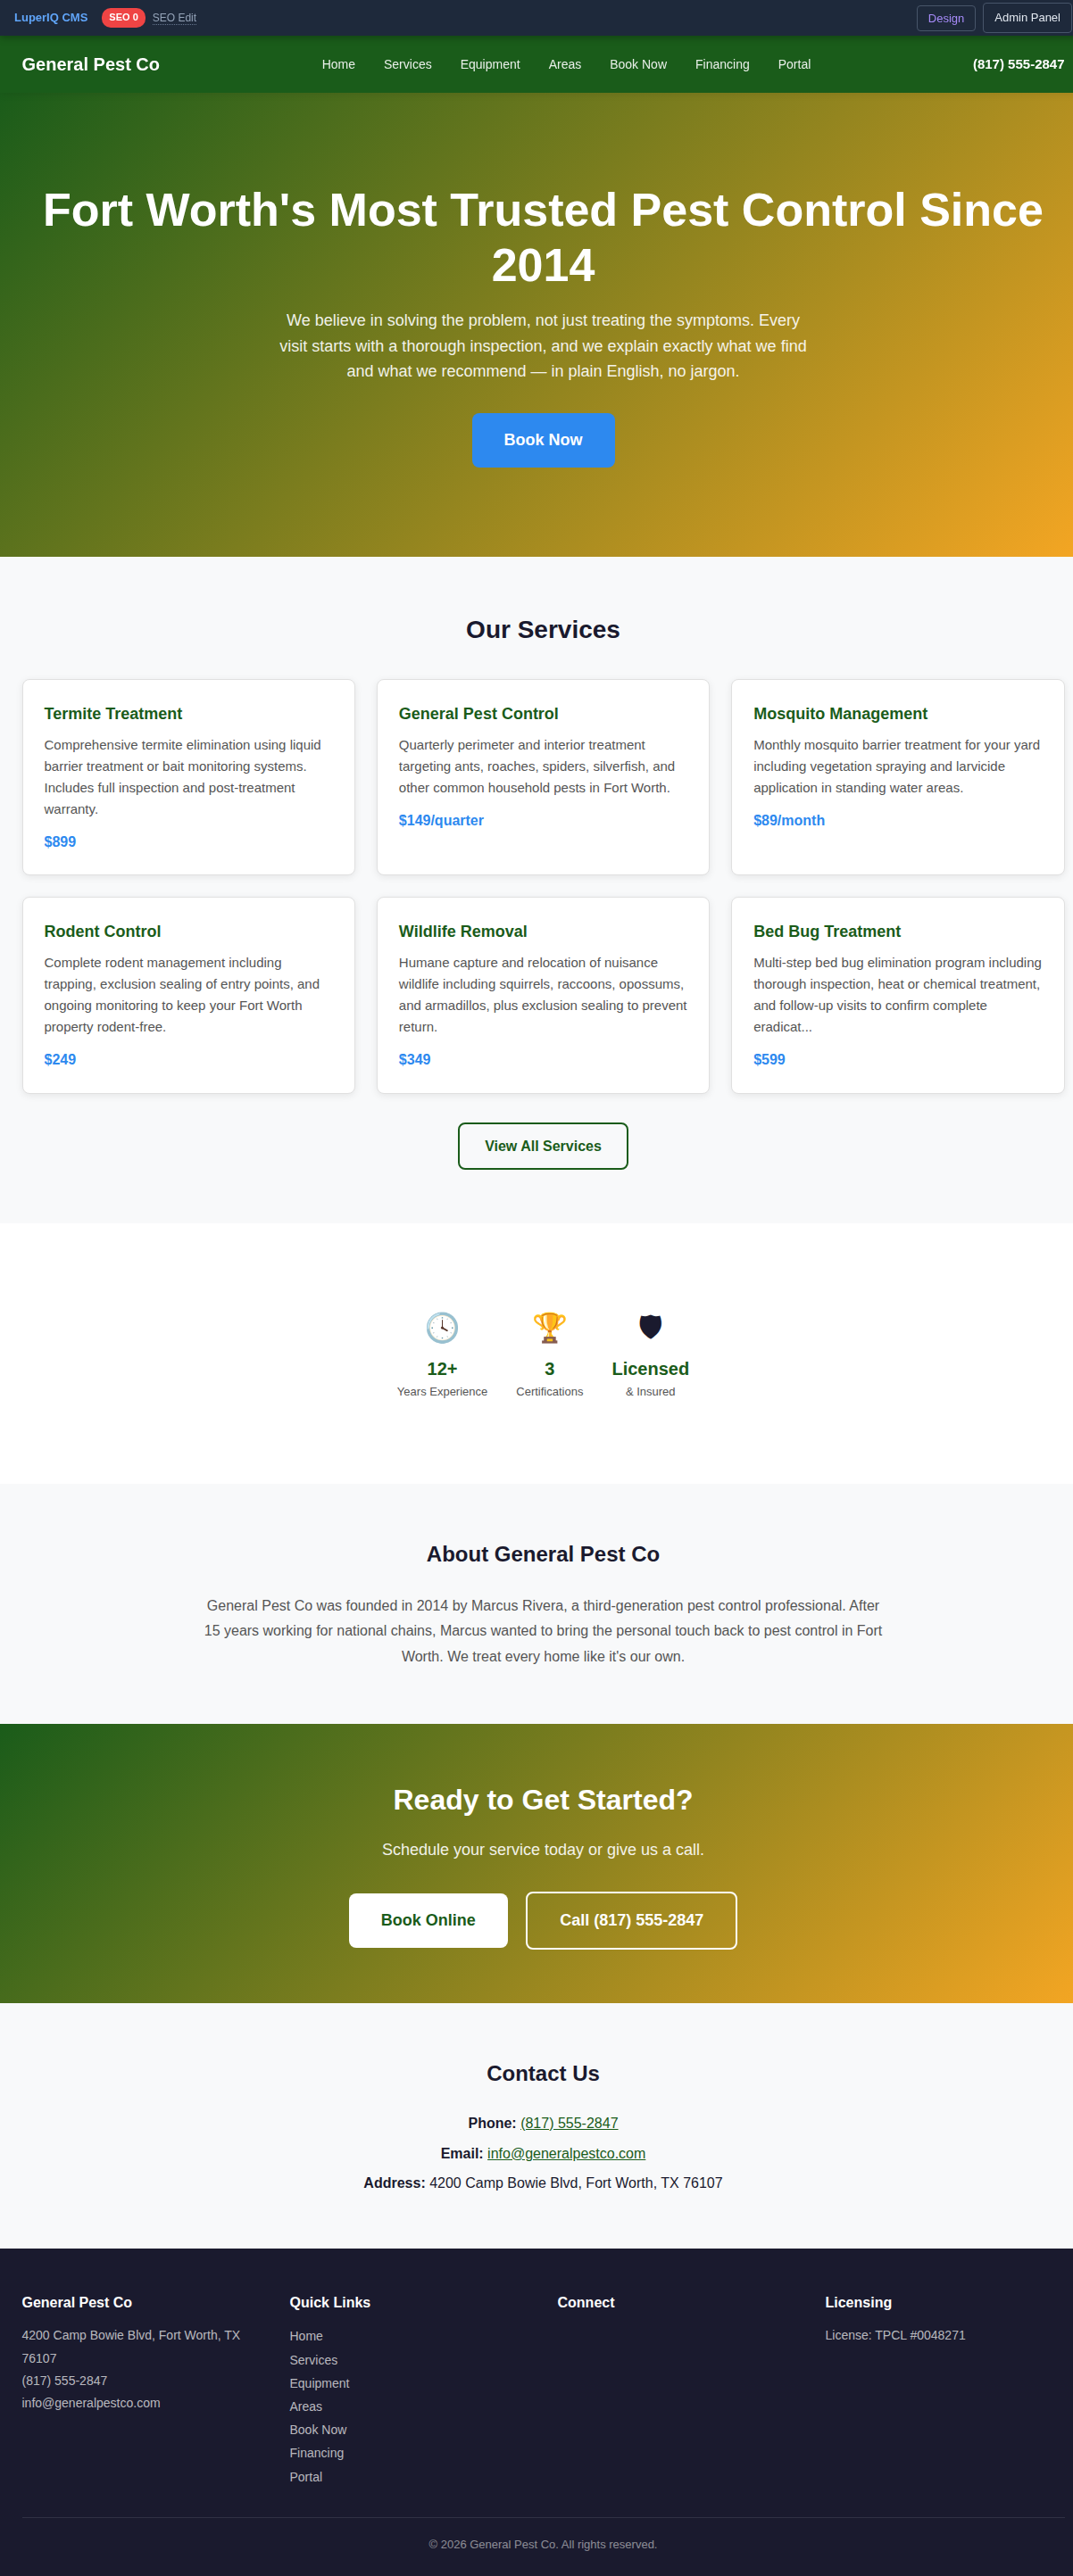
STEP 8 Your Website — Fully Populated
Now refresh the public site. Everything is connected. The header shows your company name and phone number. The footer has your full address, email, and license number. The hero uses your tagline. The about section tells your founder’s story. Trust badges show your years of experience and certifications.
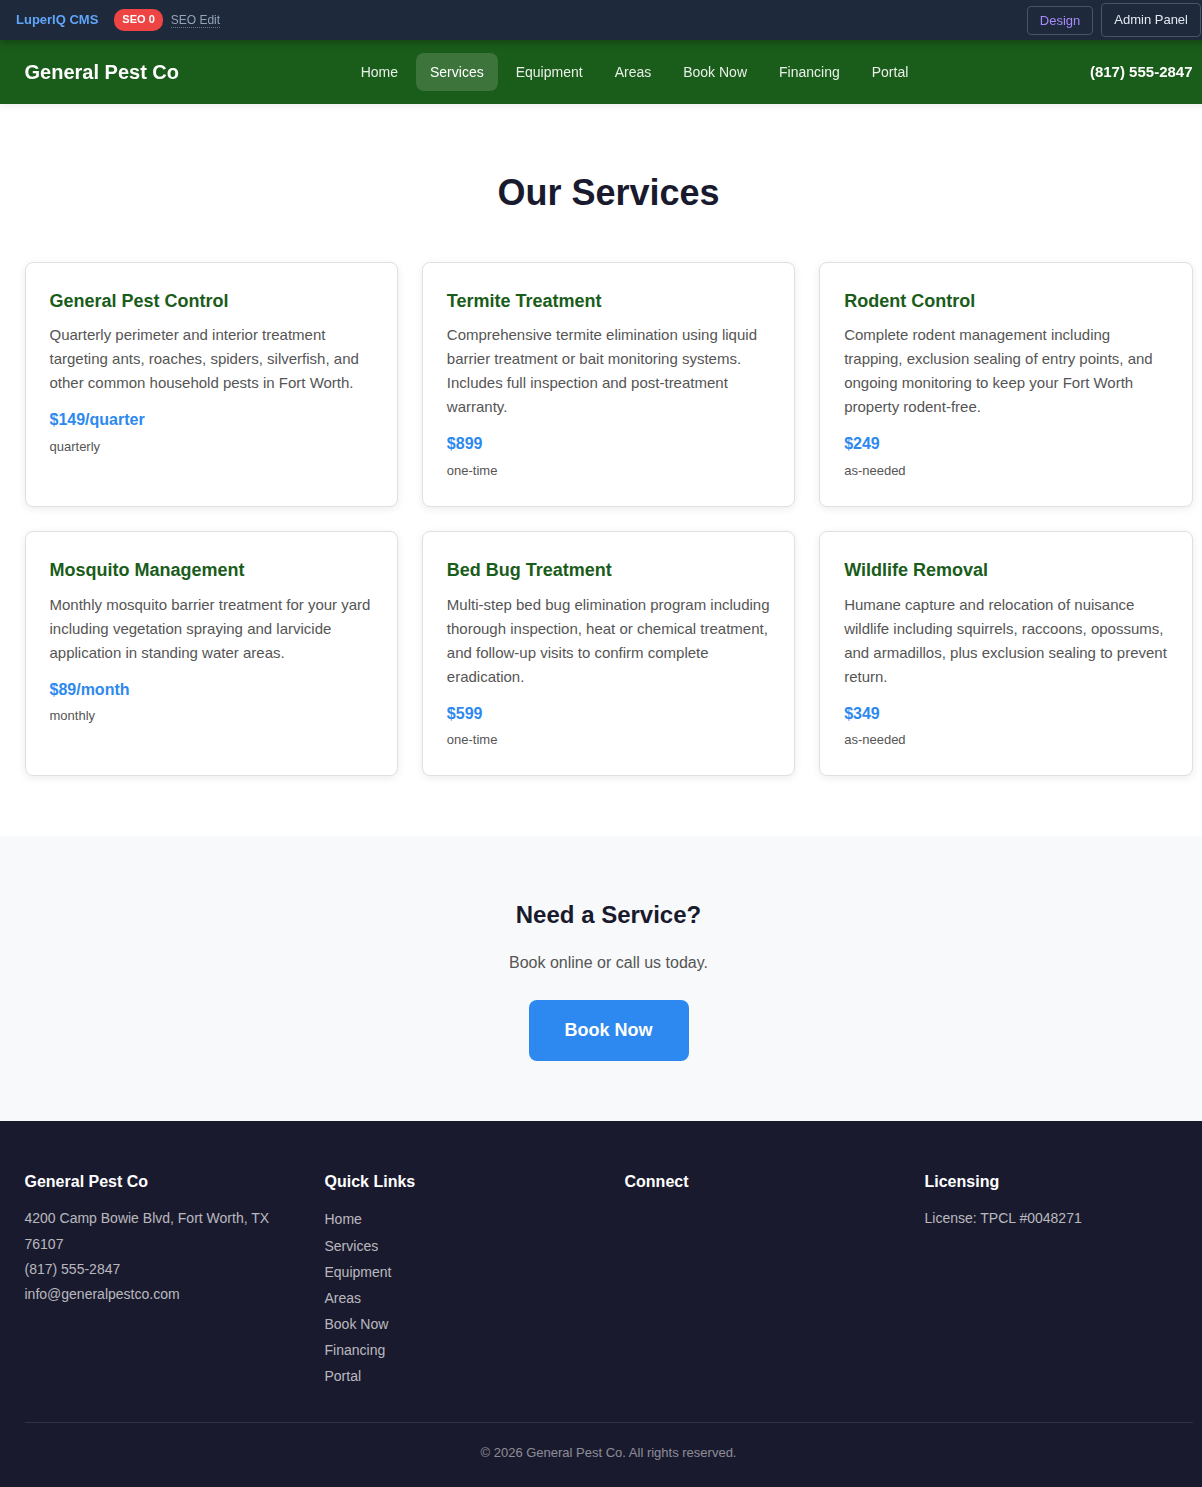
STEP 9 Services & Booking Pages
The blueprint created your services page with all six services, each with descriptions and pricing. Customers can browse and click through to individual service detail pages.
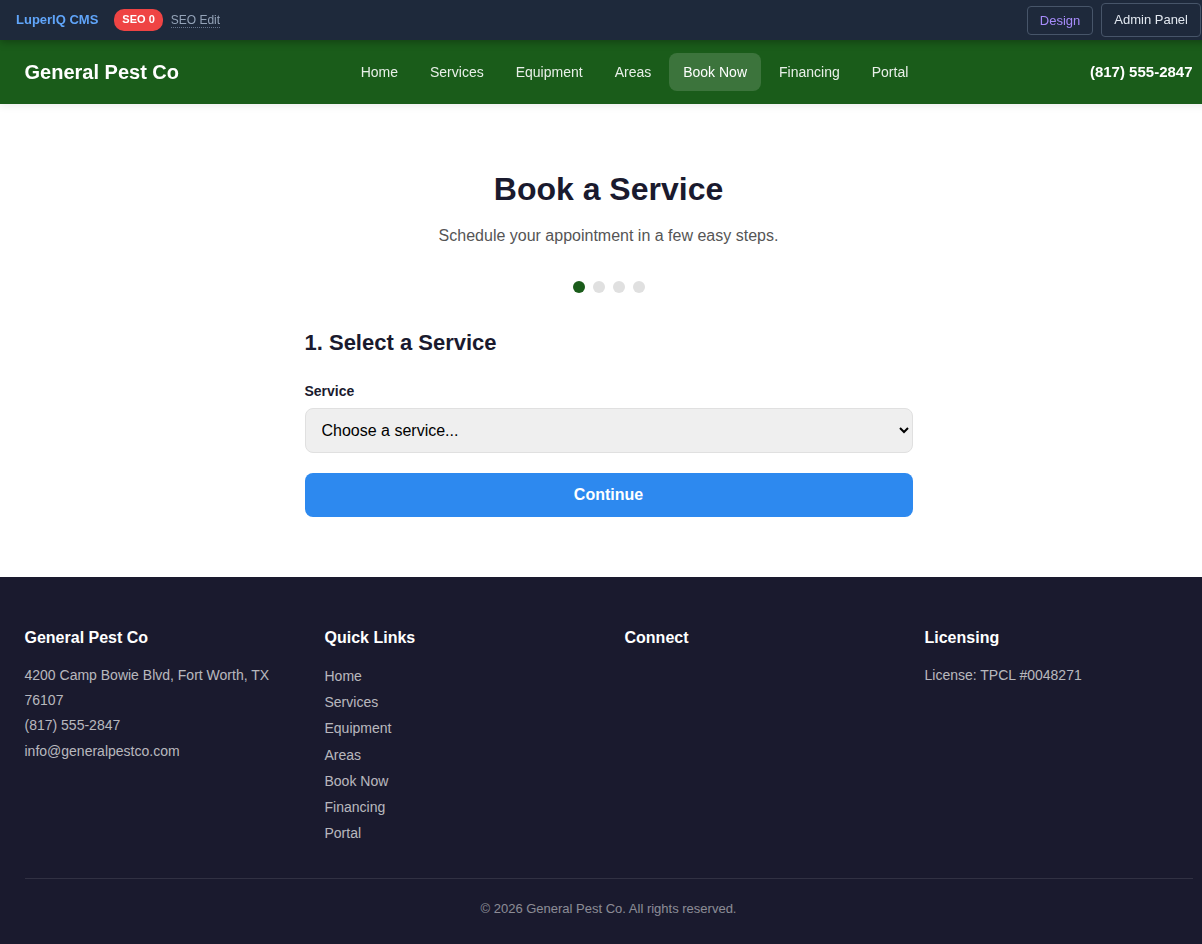
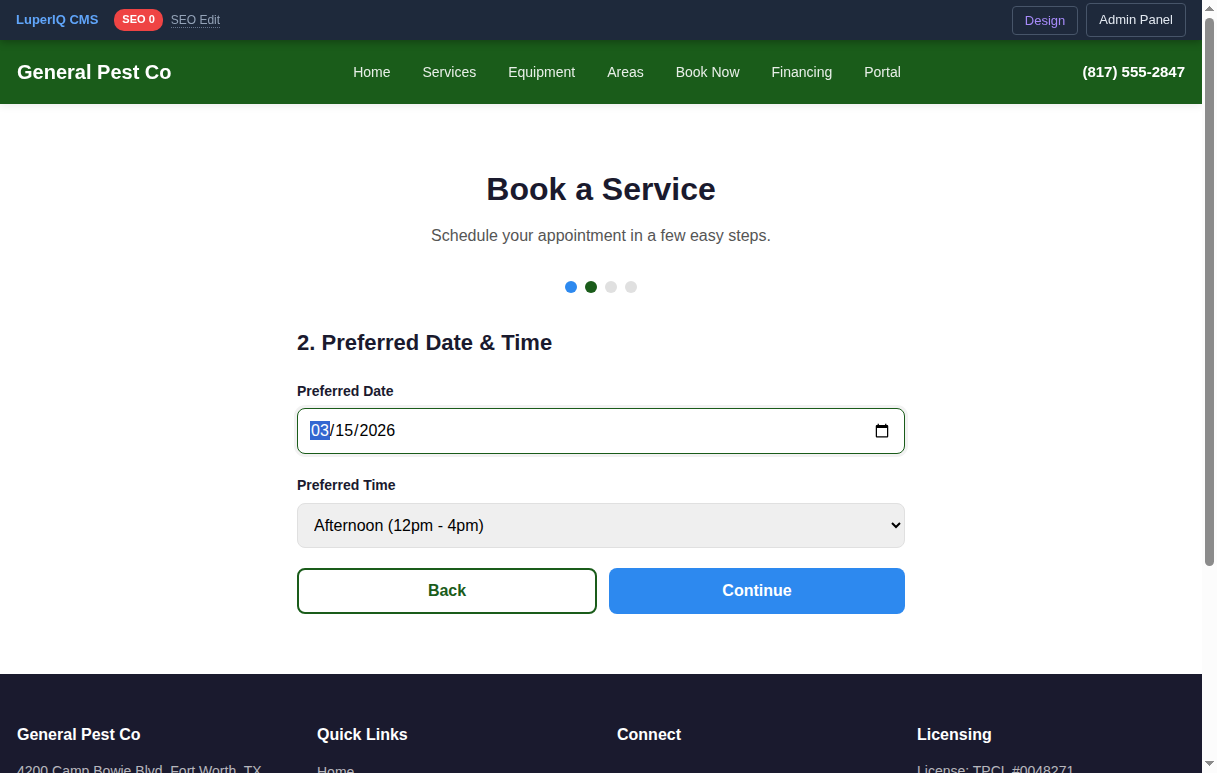
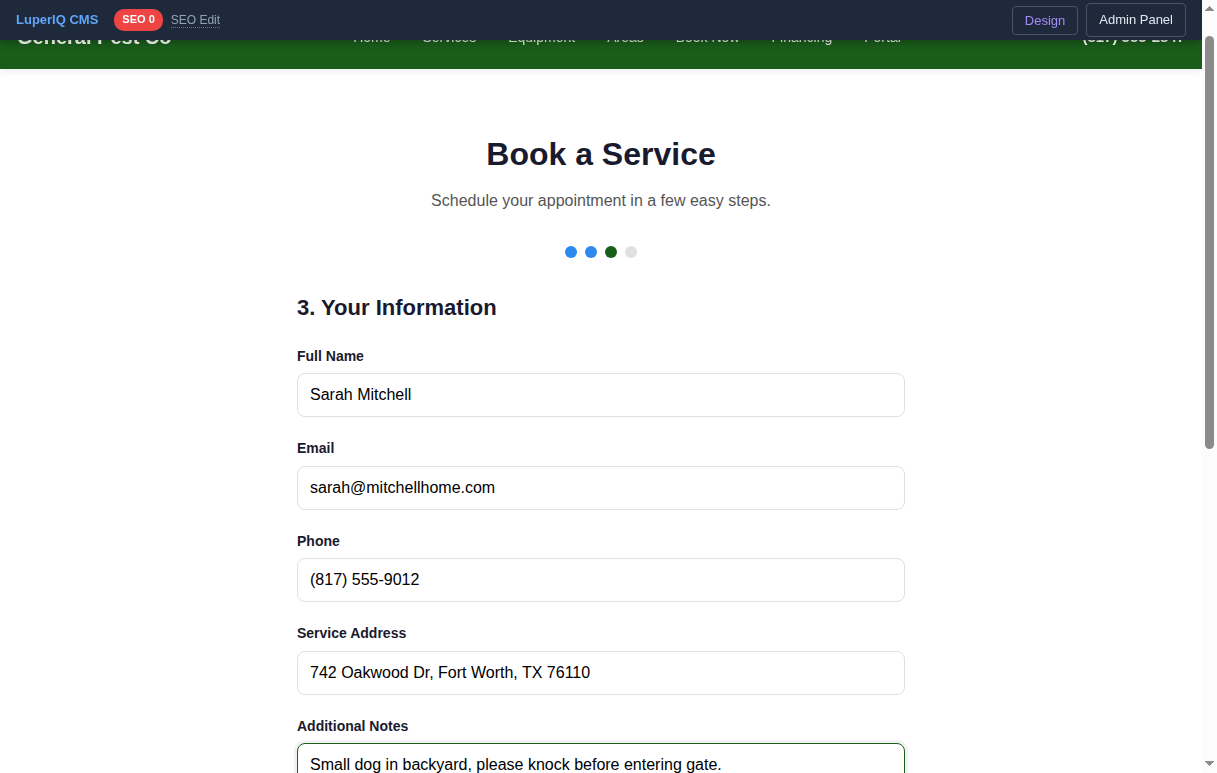
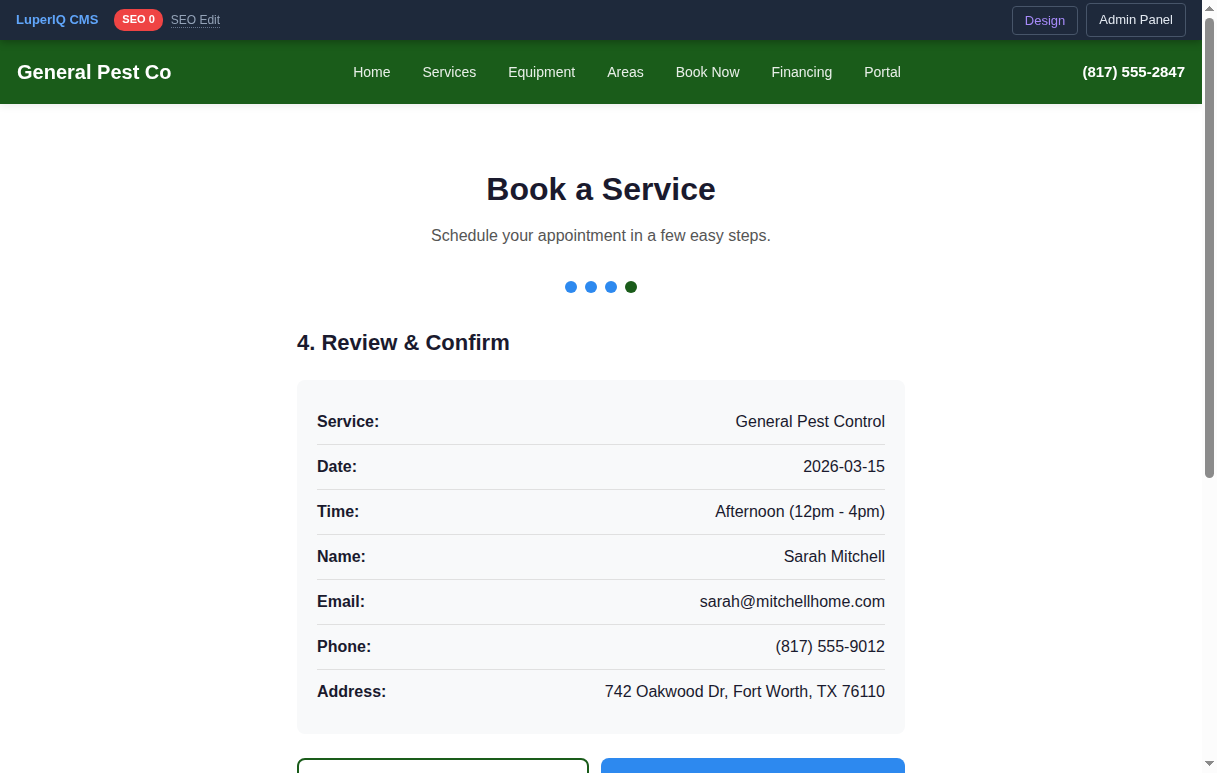
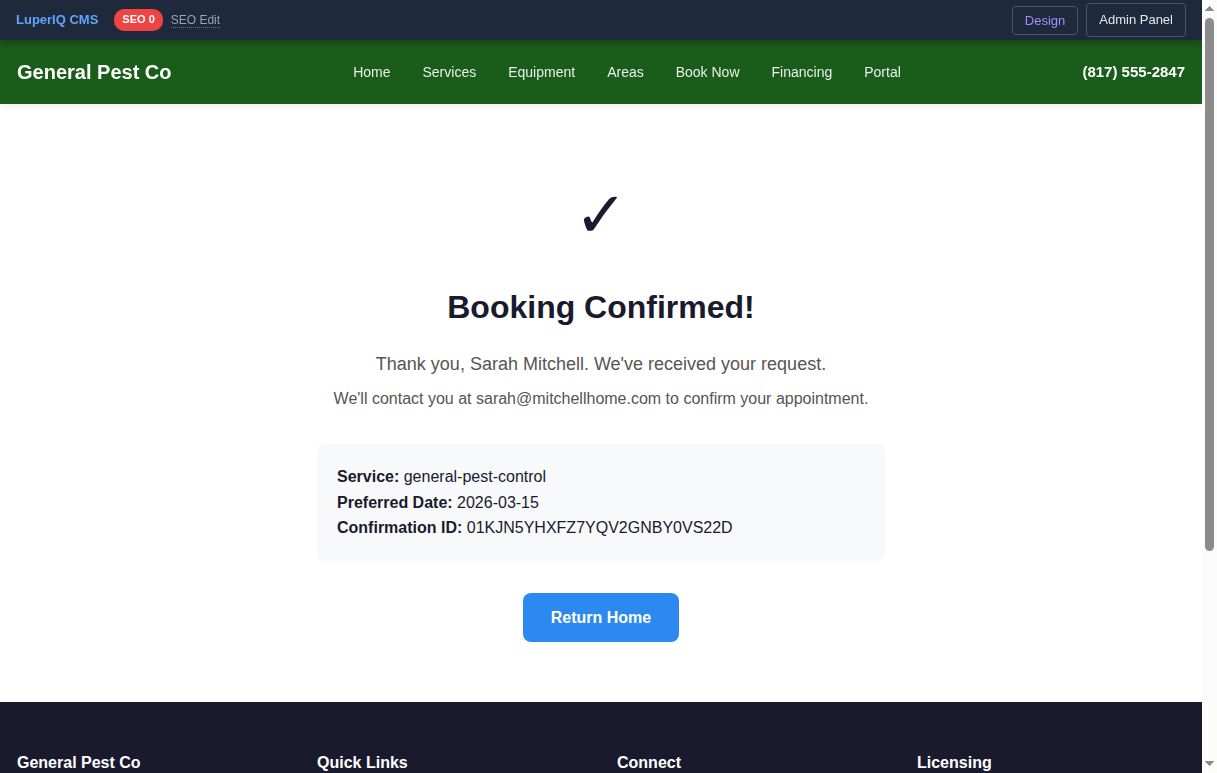
The Book Now page lets customers schedule service in four easy steps: choose a service, pick a date and time, enter their information, and review before confirming.
STEP 10 Managing Bookings in the Admin
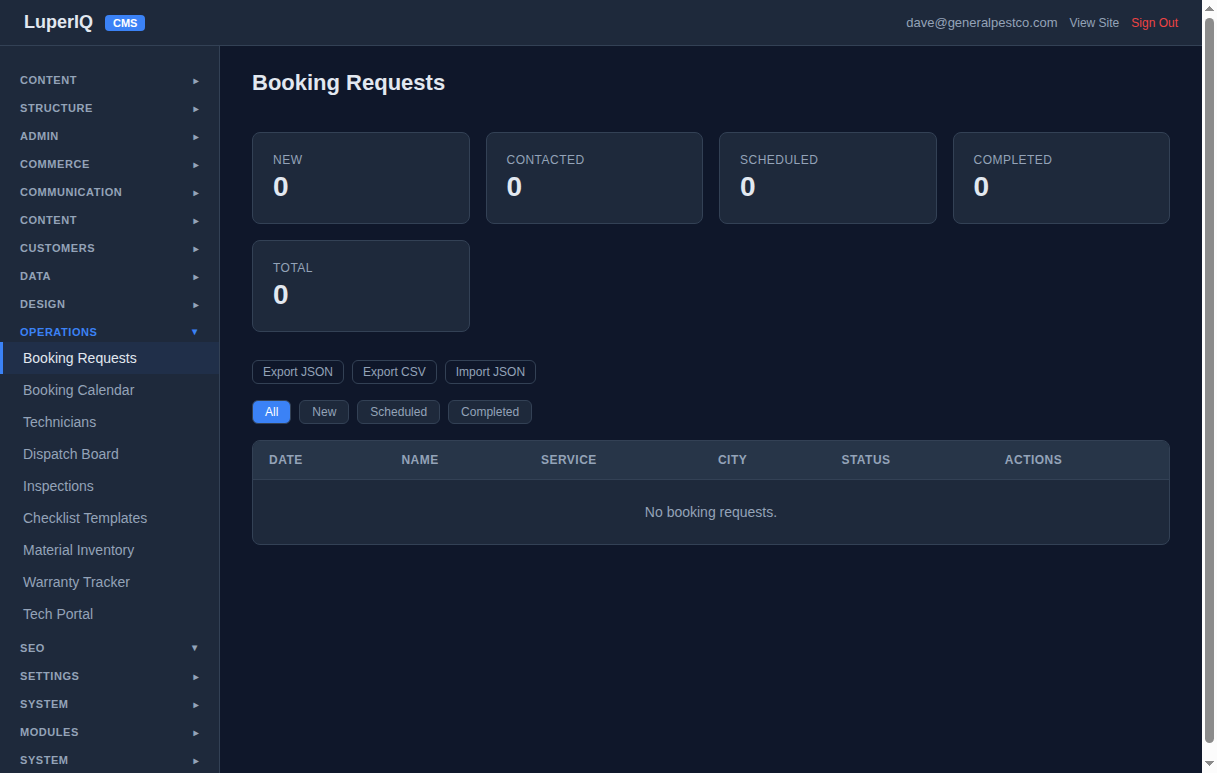
Every booking appears instantly in your admin dashboard. The Operations → Booking Requests page shows all incoming requests with status counters (New, Contacted, Scheduled, Completed), filter buttons, and export tools.
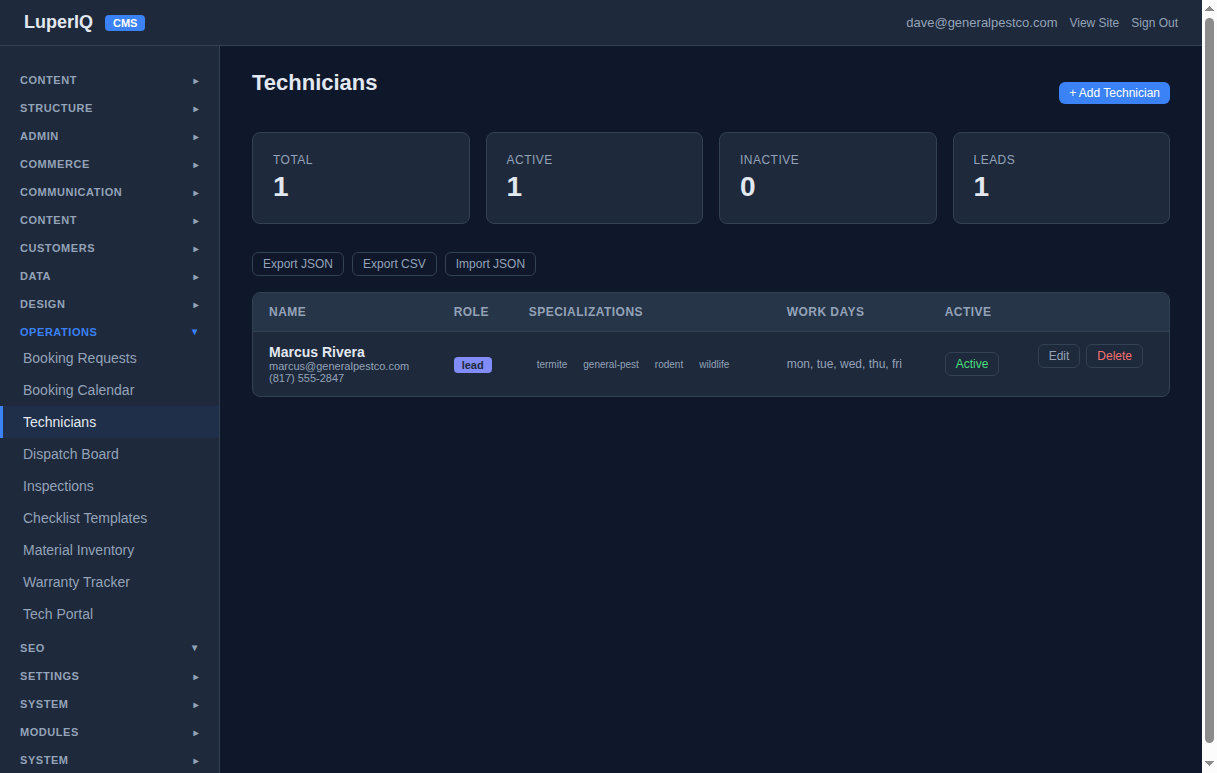
STEP 11 Add Your Technicians
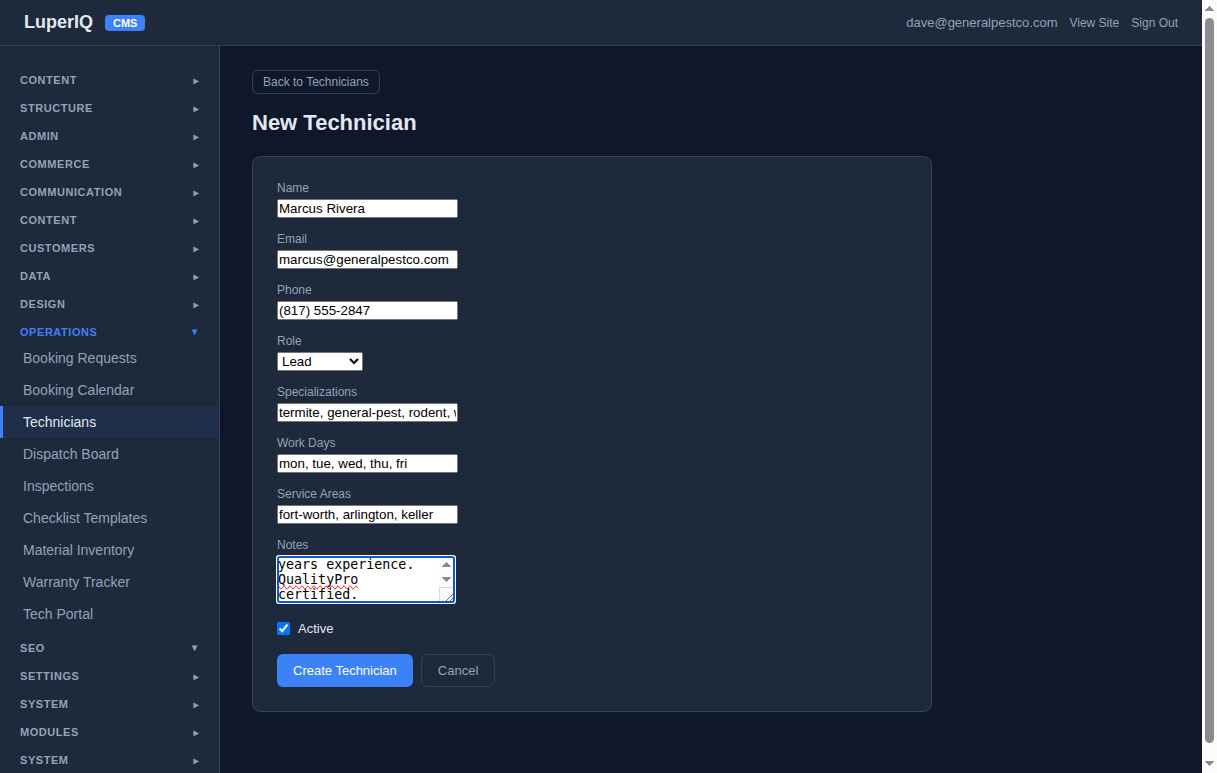
Go to Operations → Technicians to add your team. Each technician gets a name, email, phone, role (Lead/Senior/Technician/Apprentice), specializations, work days, and service areas. Click + Add Technician and fill in the form.
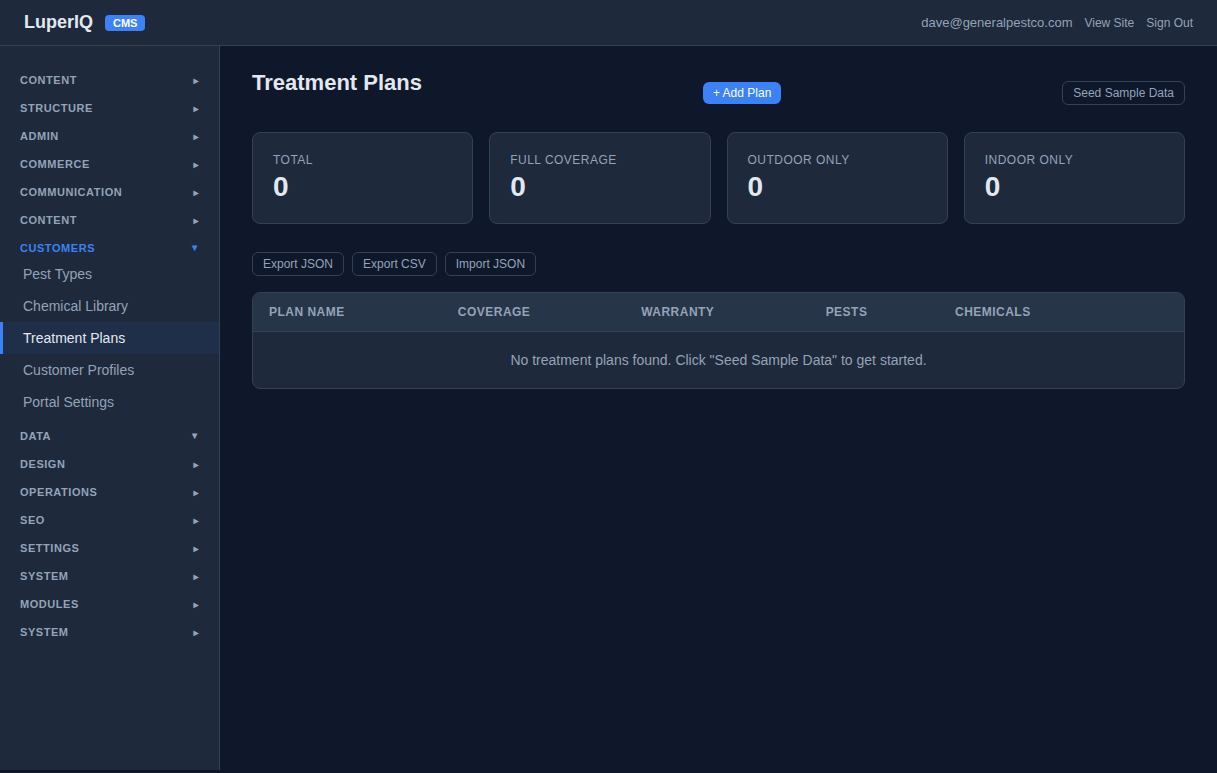
STEP 12 Seed Your Pest Control Data
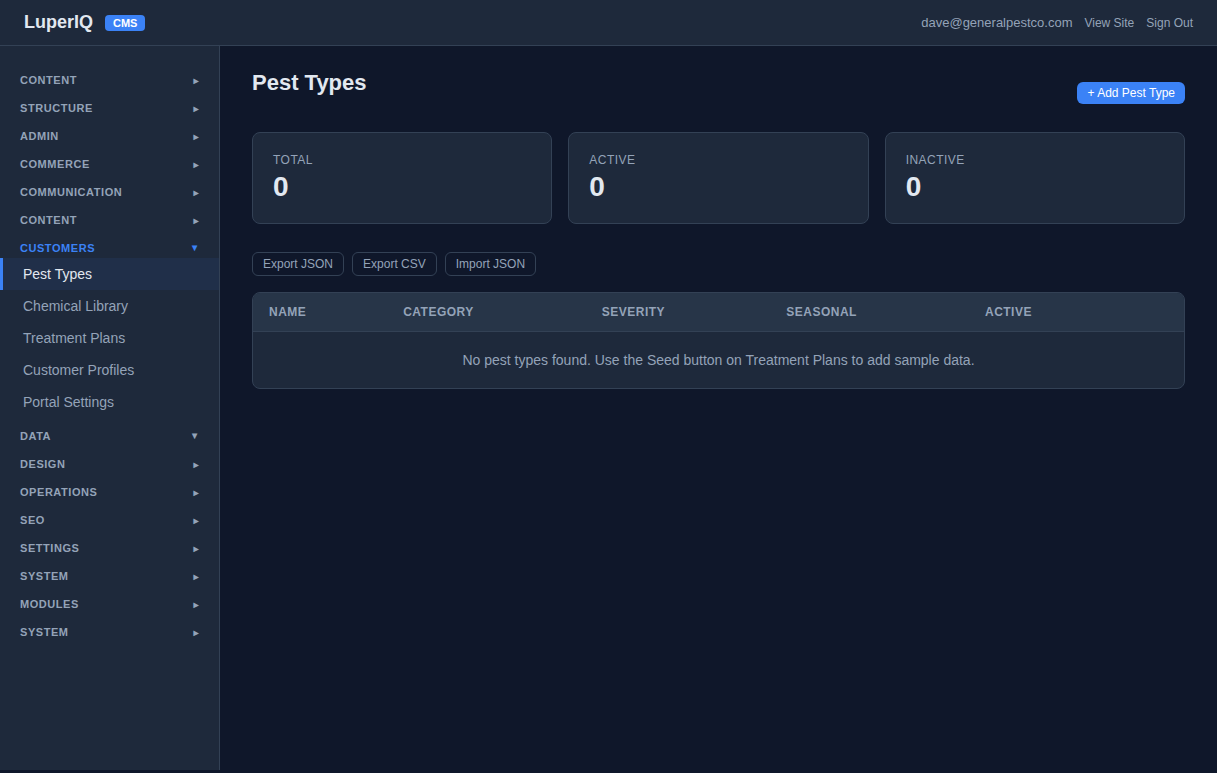
The Customers → Pest Types and Chemical Library pages start empty. But you don’t have to enter everything by hand. Go to Treatment Plans and click the Seed Sample Data button. One click creates 15 pest types, 8 chemicals, and 4 treatment plans — all real pest control data you can customize later.
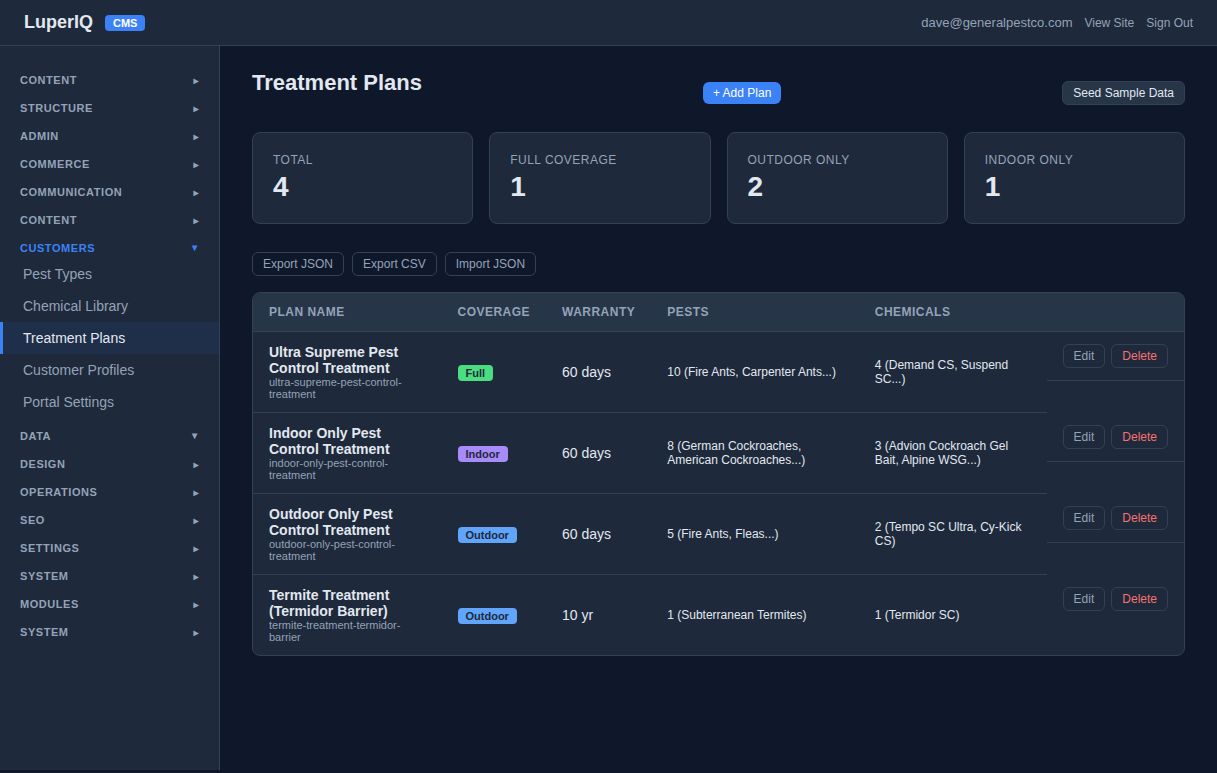
After seeding, your Treatment Plans page shows 4 plans with coverage types, warranty periods, linked pests, and chemicals:
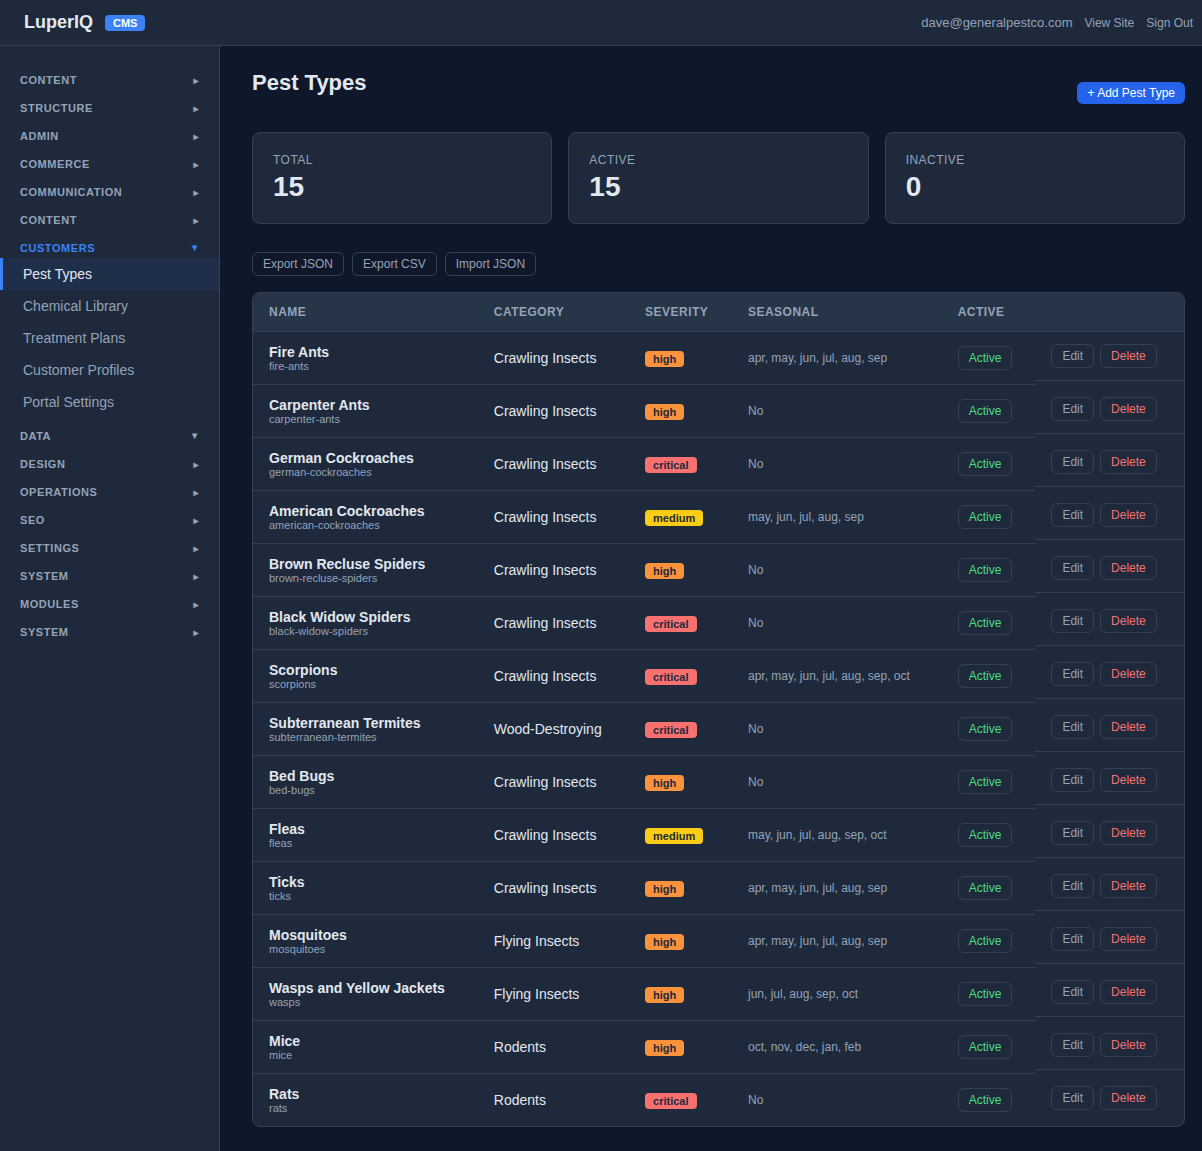
The Pest Types page now has 15 entries with categories, severity badges, and seasonal data:
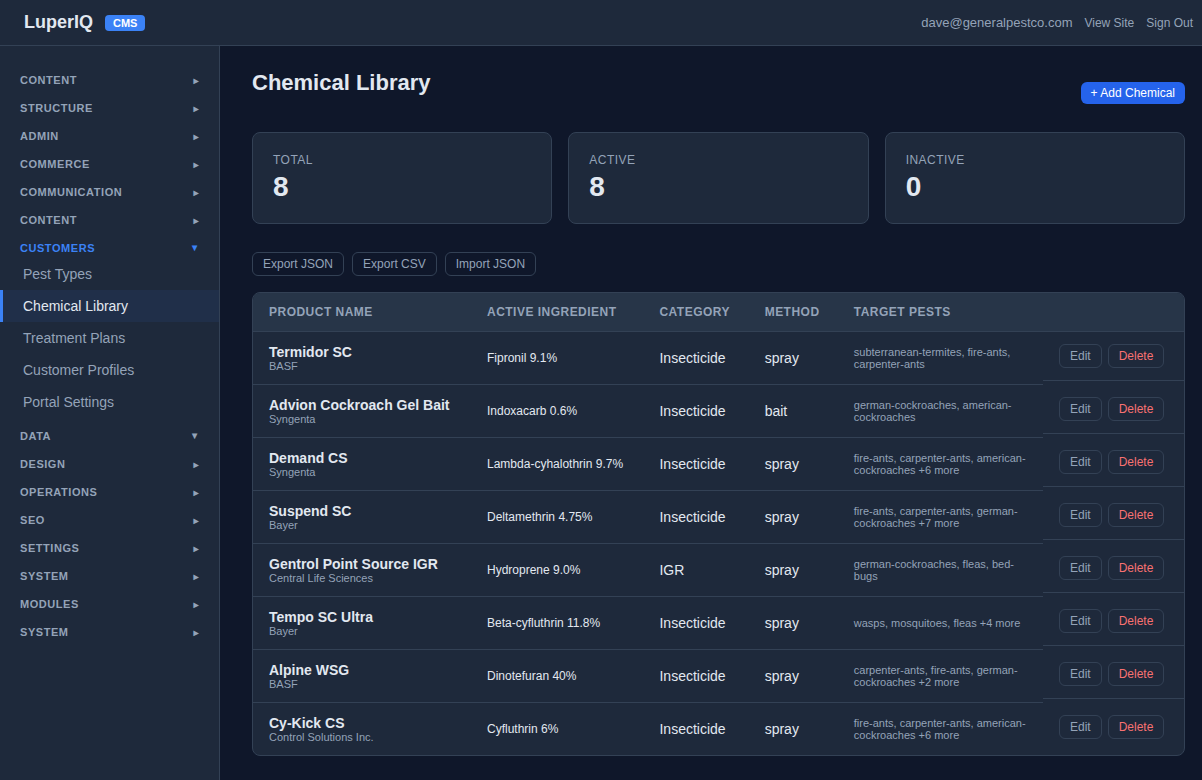
And the Chemical Library has 8 products with manufacturers, active ingredients, application methods, and target pests:
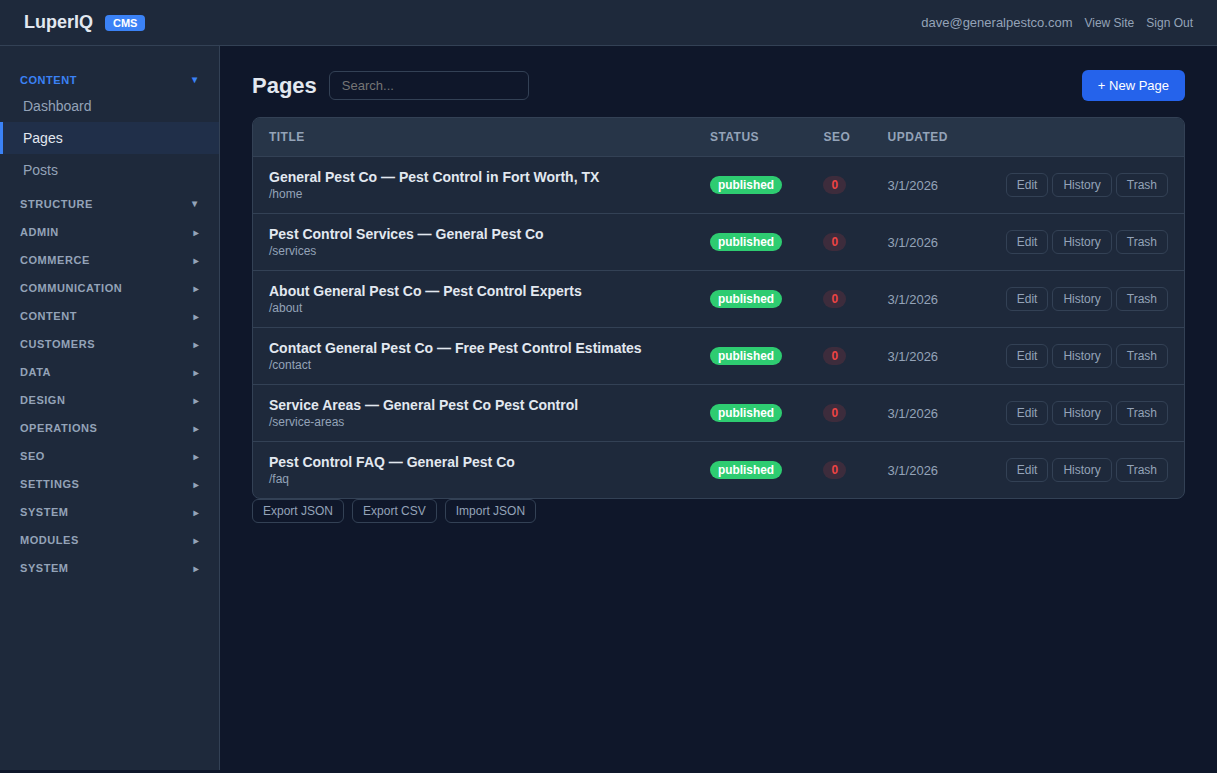
STEP 13 Your Content — Ready to Customize
Back in Content → Pages, you can see all 6 pages the blueprint created, all published and ready. Each page has Edit, History, and Trash buttons. You can customize any page’s content, add new pages, or create blog posts.
The Complete Setup Flow
LOGIN → BLUEPRINT → COMPANY PROFILE → TECHNICIANS → SEED DATA → LIVE WEBSITE
From first login to a fully operational pest control website in about 15 minutes. No coding, no technical knowledge, no hiring a web developer. Just fill in your business details and the system builds everything for you.
What You Get
- 6 SEO-optimized pages — Home, Services, About, Contact, Service Areas, FAQ
- 3 blog posts — ready to publish, written for your industry
- 6 services with pricing — displayed on your site with booking integration
- Online booking system — 4-step wizard, confirmation emails, admin tracking
- Company identity system — fill once, appears everywhere
- Technician management — roles, specializations, schedules, dispatch
- 15 pest types + 8 chemicals + 4 treatment plans — seeded with one click
- Full admin dashboard — booking management, invoicing, inspections, customer portal
Other Walkthroughs
See how the rest of the system works:
Technician Walkthrough · Customer Walkthrough · All CMS Modules · Pricing