Pest Control Technician Walkthrough
Complete field technician experience — from login to job completion with GPS verification, chemical tracking, customer signature, and work history. See every screen a tech interacts with on a real service call.
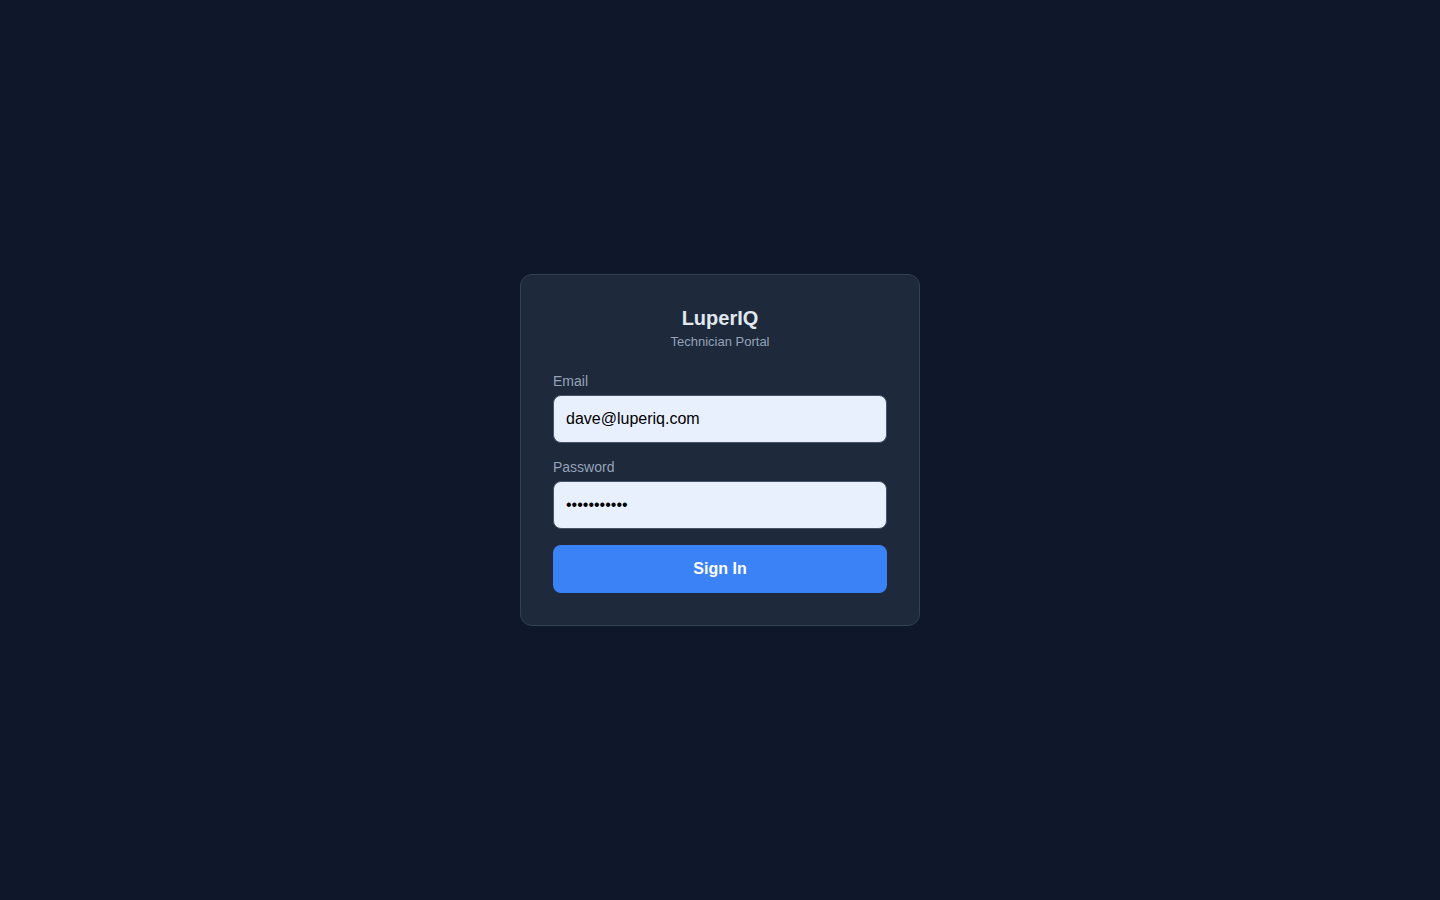
Step 1 Logging In to the Tech Portal
The LuperIQ Tech Portal lives at /tech on your company's website. It is a mobile-first web application — no app store download required. Technicians open the URL on their phone's browser and log in with the credentials their admin created for them.
Authentication uses JWT tokens with a separate session cookie scoped specifically to /tech paths. This means a technician's session is isolated from the admin panel and from any customer-facing pages. Sessions last 24 hours, so techs stay logged in through their full workday without re-entering credentials.
Step 2 Today's Dashboard
After login, the technician lands on the Today view — a personalized dashboard showing their name, a greeting, and the total number of jobs assigned for the day. Each job appears as a card with the time slot, current status badge, customer name, and service address.
The dashboard is designed for one-handed phone use. Large tap targets, high-contrast text on the dark background, and a fixed bottom navigation bar with three tabs: Today, Schedule, and History. Technicians can scan their entire day at a glance without scrolling through menus.
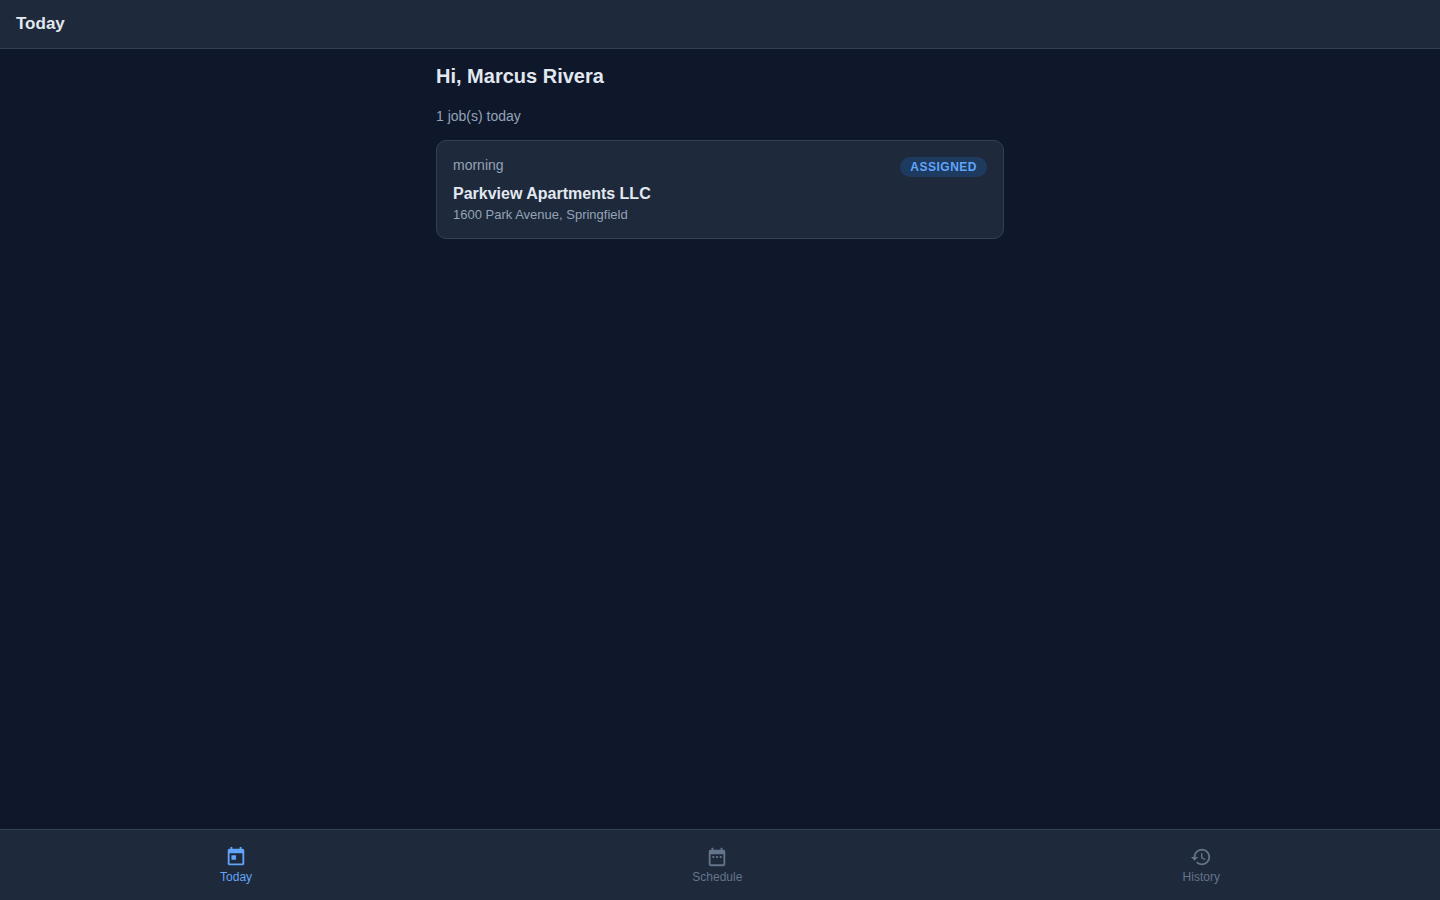
- Personalized greeting with technician's name
- Job count for the day shown prominently
- Each job card shows time, status, customer, and address
- Bottom navigation: Today / Schedule / History
- Status badges update in real-time as jobs progress
Step 3 Job Detail View
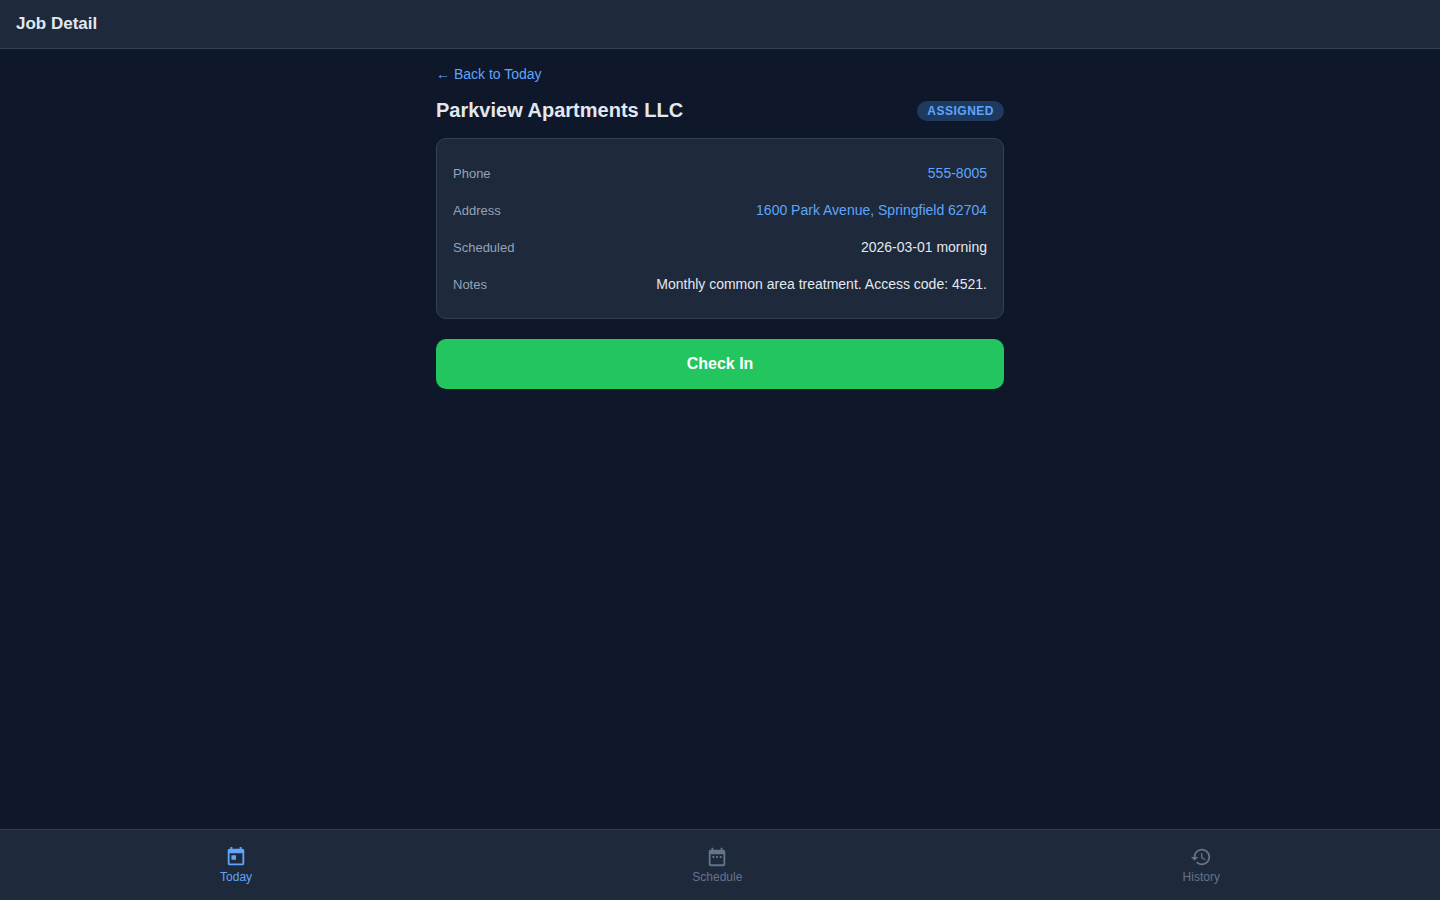
Tapping a job card opens the full job detail screen. This is the technician's command center for a single service call. It displays everything they need to arrive and perform the service:
- Customer name with an ASSIGNED status badge
- Phone number — tap to call directly from the phone's dialer
- Address — tap to open in Google Maps for turn-by-turn navigation
- Schedule showing the time window for the appointment
- Notes containing access codes, gate information, pet warnings, and special instructions from dispatch
At the bottom, a prominent green Check In button appears for jobs in the assigned or en-route state. This button kicks off the GPS verification process that proves the tech physically arrived on site.
Step 4 GPS Check-In & Arrival Verification
When the technician taps Check In, the browser requests GPS permission. Once the device acquires a location fix, the coordinates are displayed on screen and the "I've Arrived" button becomes enabled. The tech taps it, and the system records their exact latitude, longitude, and timestamp.
This GPS check-in creates an immutable audit trail for the business owner. You can verify that your technician was physically at the customer's address at the recorded time. This is critical for resolving customer disputes ("nobody showed up"), for insurance documentation, and for tracking drive time vs. service time across your fleet.

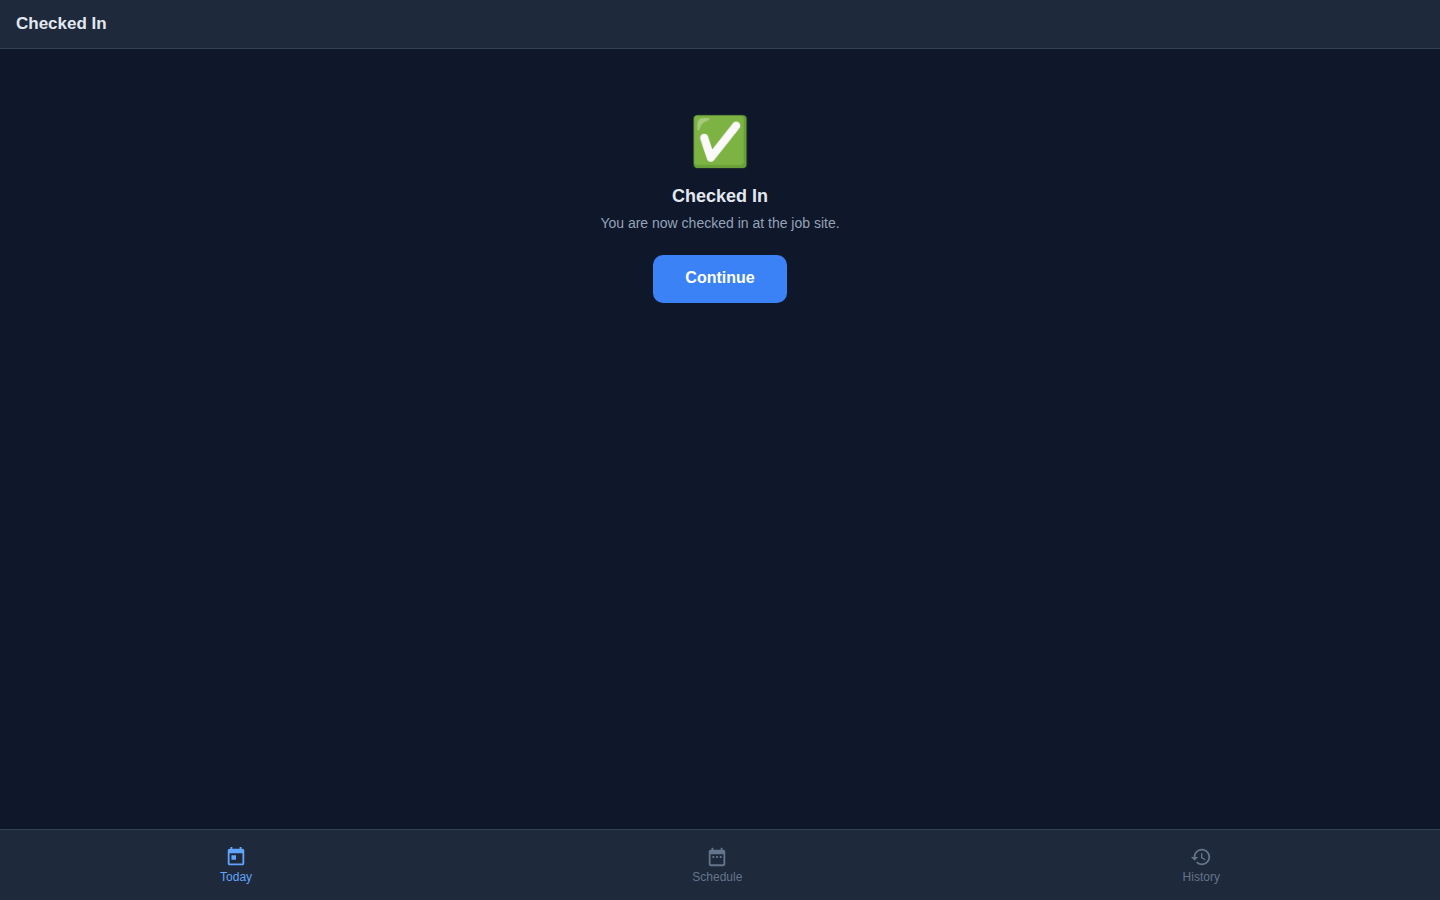
- Browser-native GPS — no special hardware required
- Coordinates + timestamp create an auditable record
- Resolves "did the tech actually show up?" disputes instantly
- Useful for insurance claims and compliance documentation
- Job status automatically transitions to CHECKED-IN
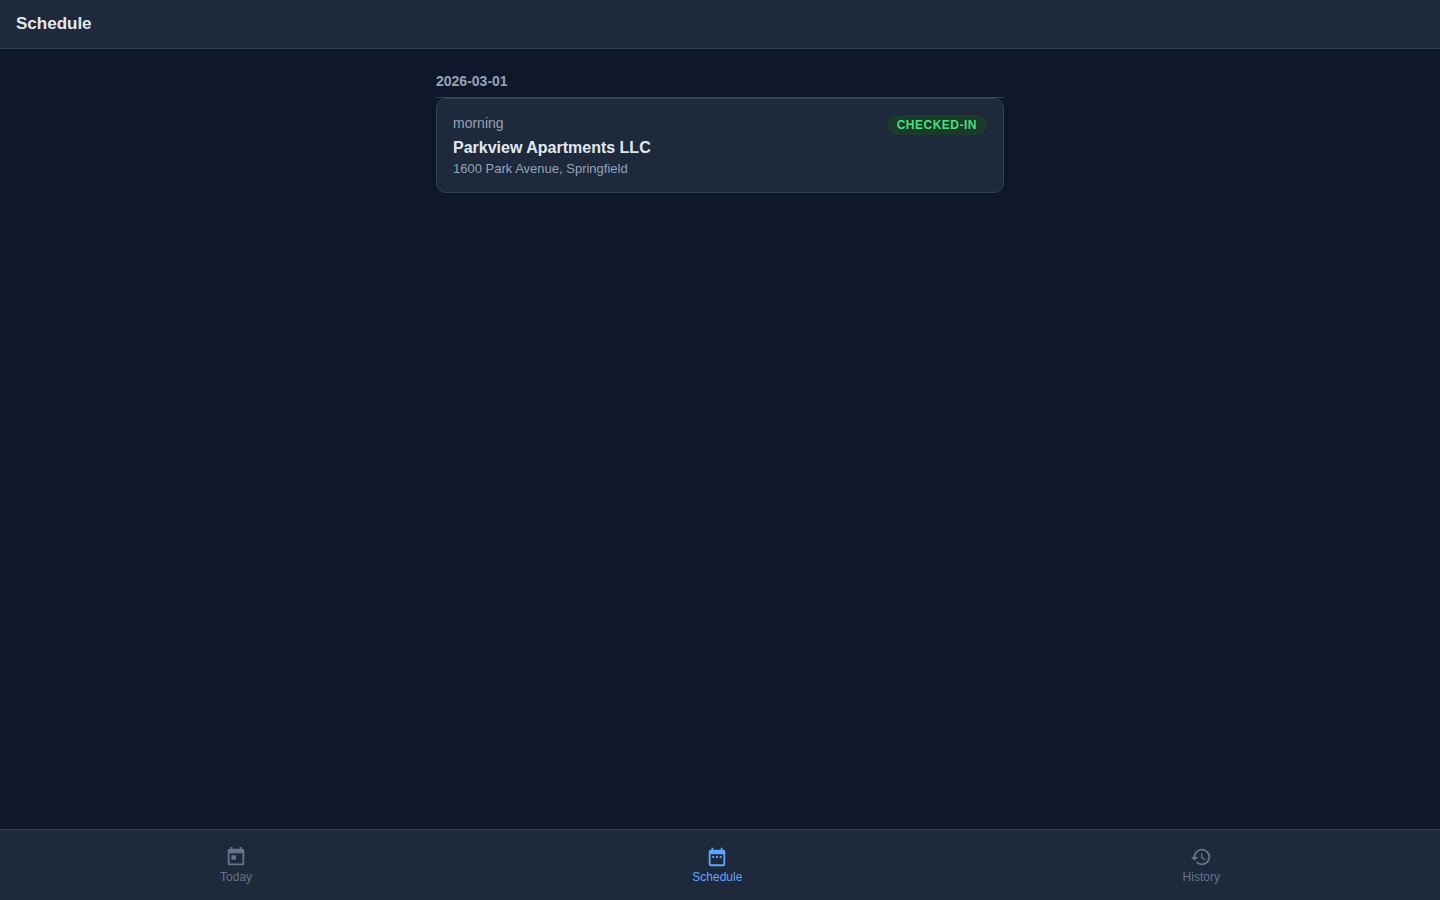
Step 5 Schedule View
The Schedule tab gives the technician visibility into their upcoming workload. Jobs are grouped by date, and each card shows the same information as the Today view — but with the key addition that status badges update in real-time as the tech progresses through their day.
In the screenshot below, notice the CHECKED-IN badge on the active job. This badge changed automatically when the tech completed GPS check-in in the previous step. The schedule view reflects the live state of every job without needing to refresh.
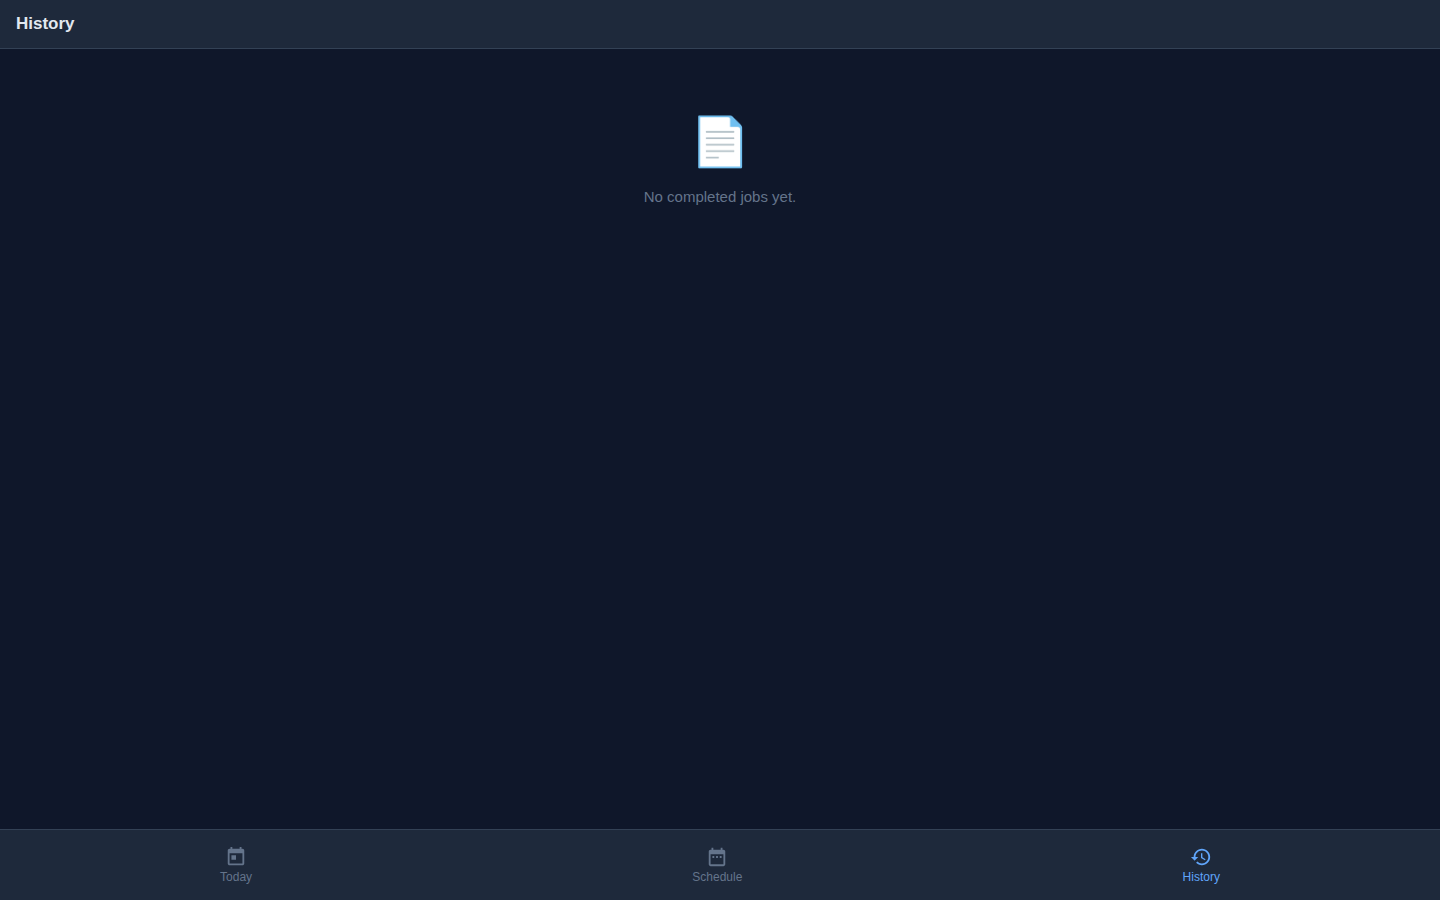
Step 6 History View (Before Completing Jobs)
The History tab shows all previously completed jobs for this technician. Since this is a fresh demo account with no completed jobs yet, the history is empty. We will return to this screen at the end of the walkthrough to see how completed jobs appear.
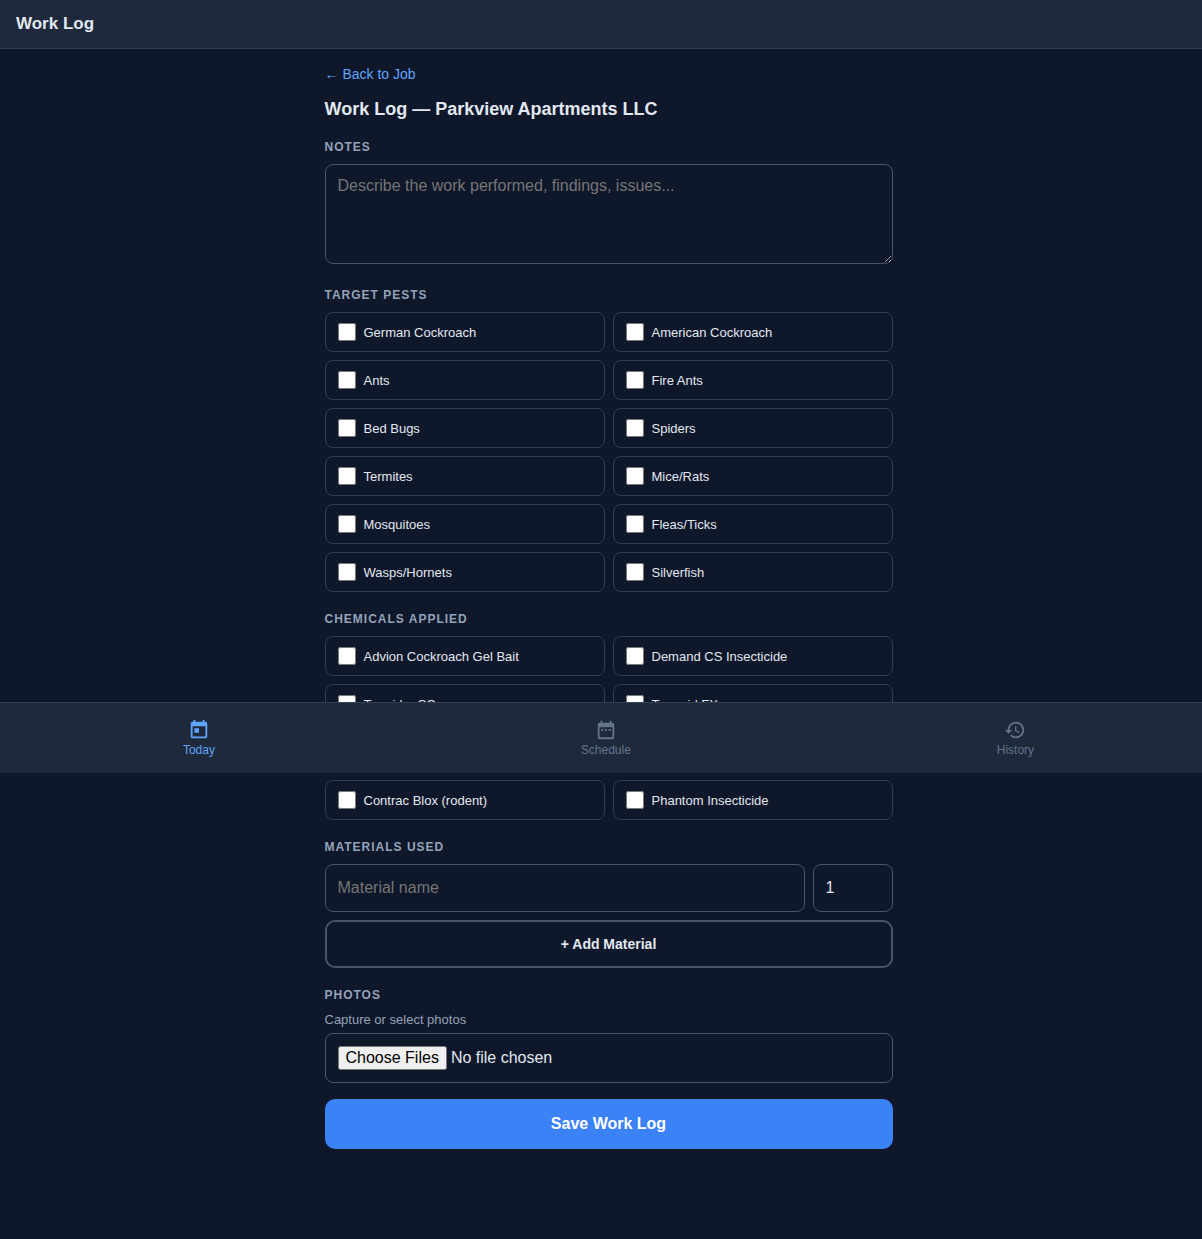
Step 7 Work Log — The Field Data Capture Form
This is the feature that separates LuperIQ from basic scheduling apps. After checking in, the technician opens the Work Log to record exactly what they did on site. The form includes four sections:
Treatment Notes
A free-text area for detailed observations. Experienced pest control techs document what they found, where they found it, what they applied, and any follow-up recommendations. This text becomes part of the permanent service record tied to the customer and property.
Target Pests (12 Checkboxes)
A two-column grid of the most common pest types in the industry. Instead of typing pest names, techs simply check the boxes. The 12 options cover the vast majority of residential and commercial treatments:
- German Cockroach, American Cockroach, Ants, Spiders
- Rodents, Bed Bugs, Termites, Mosquitoes
- Fleas, Ticks, Wasps, Silverfish
Chemicals Applied (8 Checkboxes)
Professional-grade products that techs regularly use in the field. Each product is a checkbox, making it fast to record what was applied without typing product names:
- Advion Cockroach Gel Bait, Demand CS Insecticide
- Termidor SC, Suspend Polyzone, Temprid FX
- Phantom Aerosol, Alpine WSG, Gentrol IGR
Materials Used + Photos
A dynamic list for recording materials (bait stations, traps, monitors) with an "Add Material" button for multiple entries. Plus a Photos section with camera capture — techs can photograph pest activity, damage, treatment areas, and conditions for the service record.
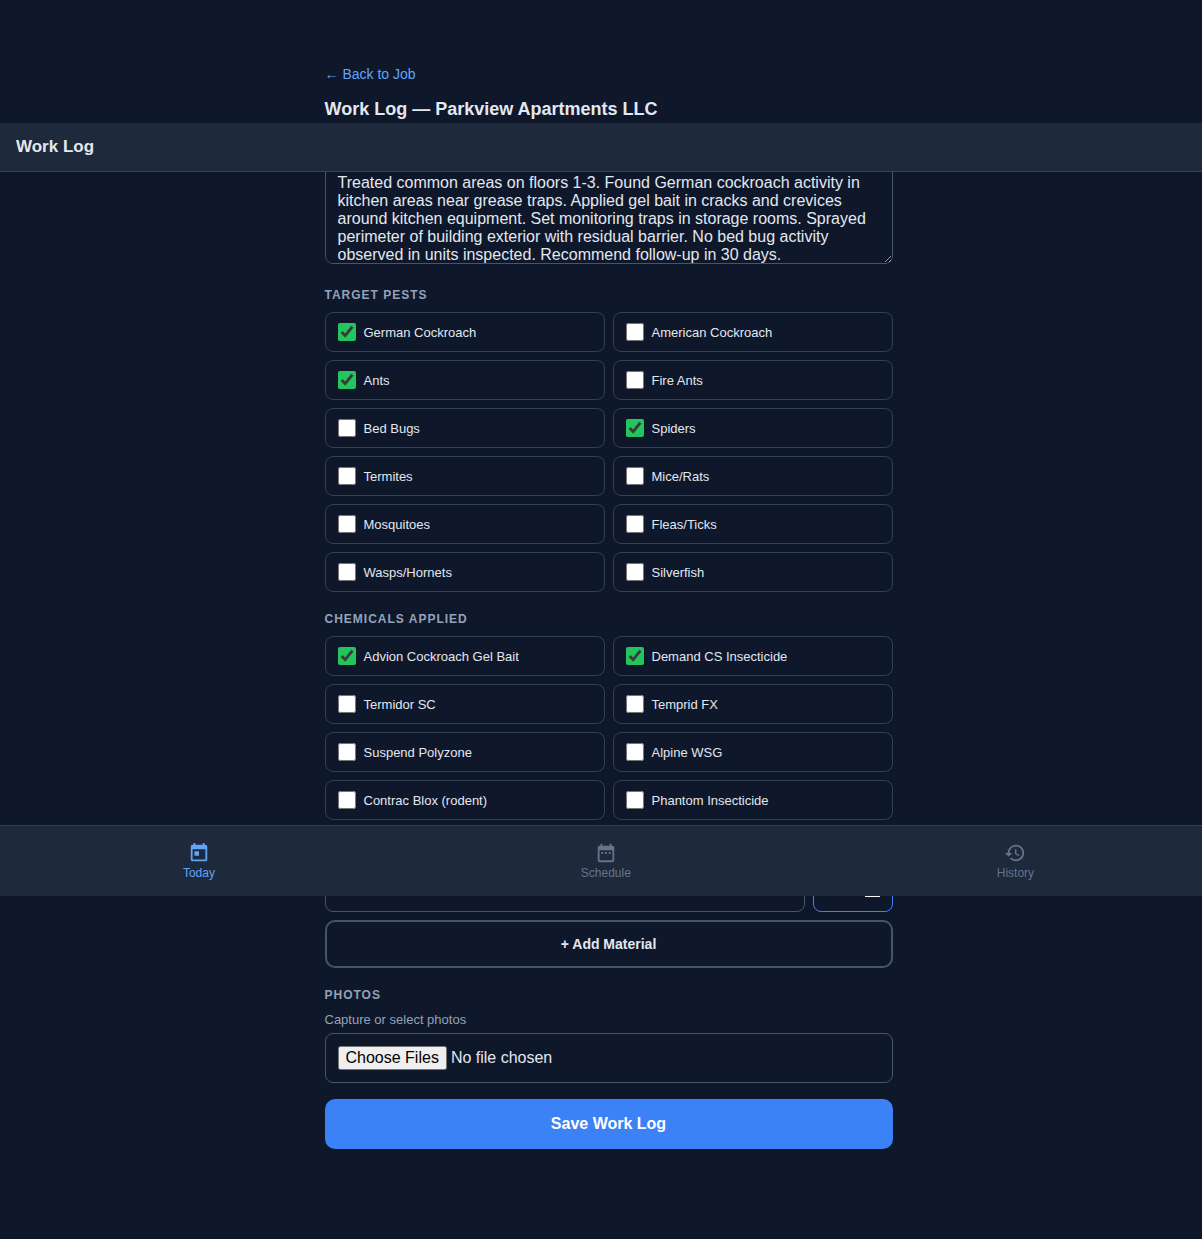
Step 8 Work Log — Filled In
Here is the same form after the technician completed a treatment. The real-world data tells a story:
- Notes: "German cockroach activity found in kitchen. Applied gel bait in cracks and crevices under sink, behind refrigerator, and along baseboards. Perimeter spray applied to exterior foundation. Placed monitoring stations in garage."
- Target Pests: German Cockroach, Ants, Spiders checked
- Chemicals: Advion Cockroach Gel Bait, Demand CS Insecticide checked
- Materials: Bait stations (6 placed)
This took the technician about 90 seconds to fill out. Compare that to writing the same information on a paper service ticket and then having someone in the office re-enter it into your system later. The data is captured once, in the field, at the point of service, and it is immediately available to the office.
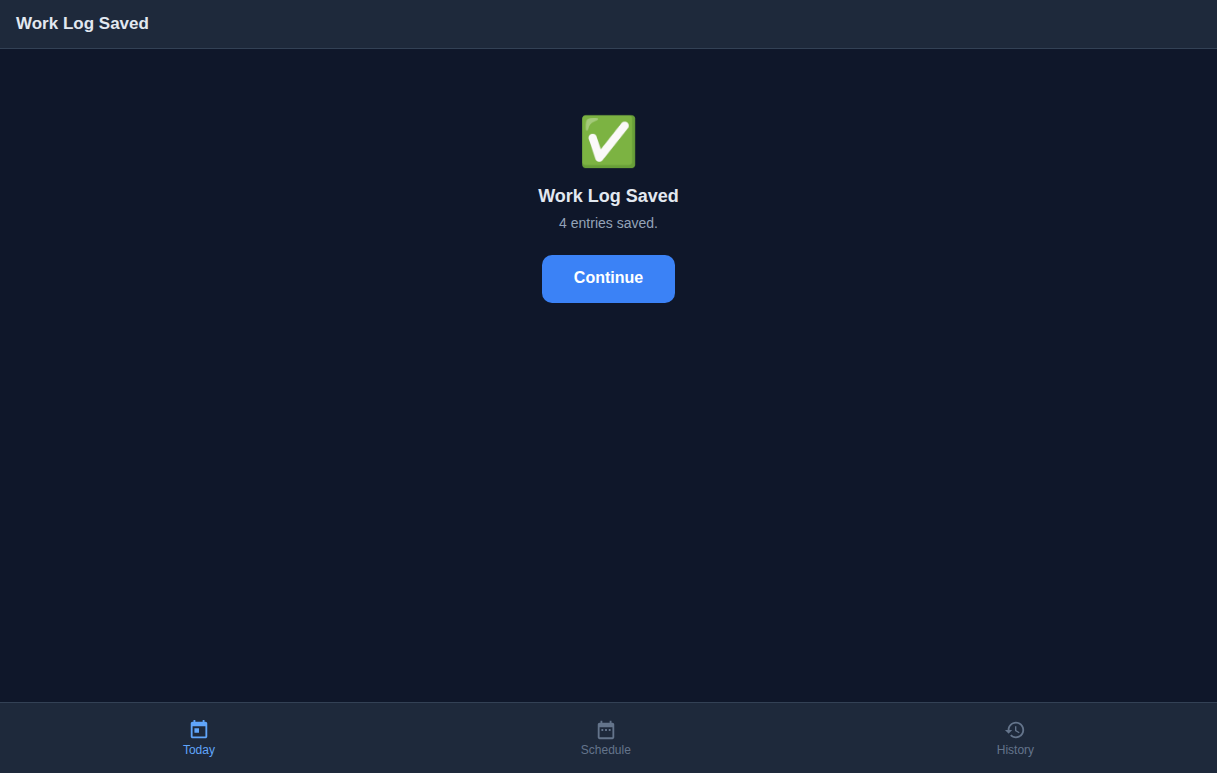
Step 9 Work Log Saved & Job Detail with Work History
After tapping Save, the tech sees a confirmation: "4 entries saved" — one each for notes, materials, chemicals, and pests. These are stored as individual entries in the work log, making them searchable, filterable, and reportable.
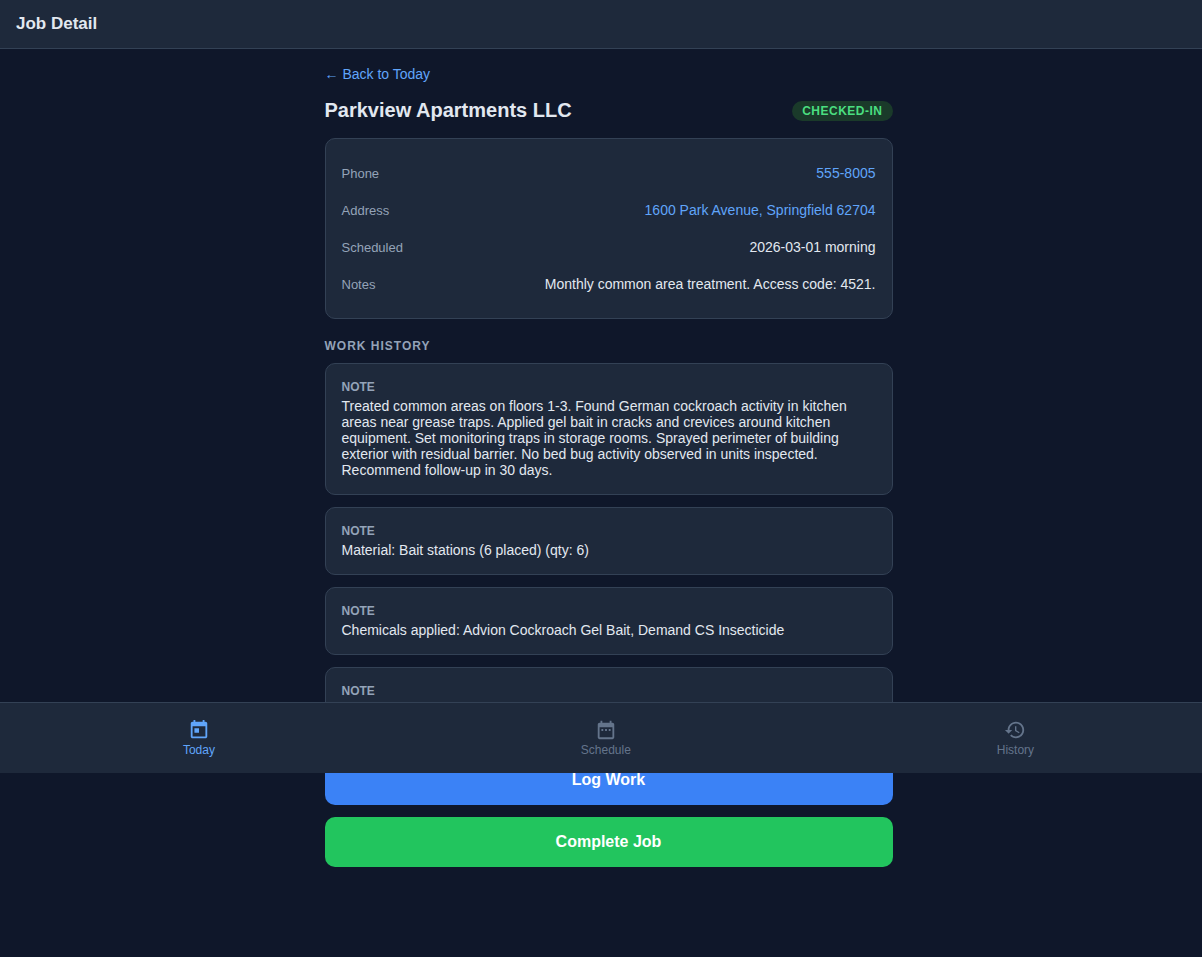
Returning to the job detail, the screen now shows a Work History section listing all four entries with their types and summaries. Two action buttons appear at the bottom:
- Log Work (blue) — add more entries if the tech needs to record additional treatments or observations
- Complete Job (green) — proceed to the completion and signature capture flow
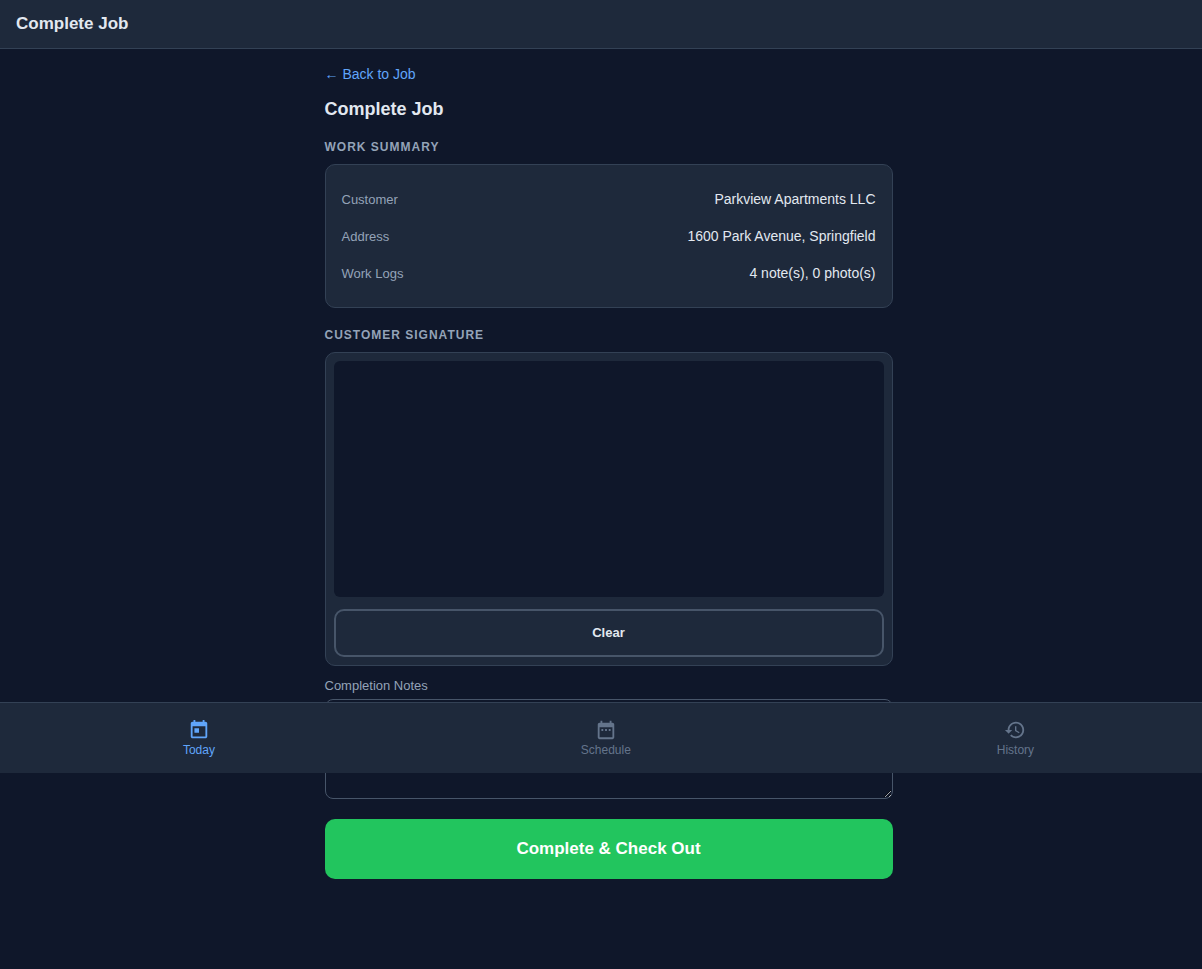
Step 10 Job Completion & Customer Signature
When the tech taps Complete Job, they are taken to the completion page. This screen shows a Work Summary recapping the customer name, address, and the number of work log entries. Below that are two critical fields:
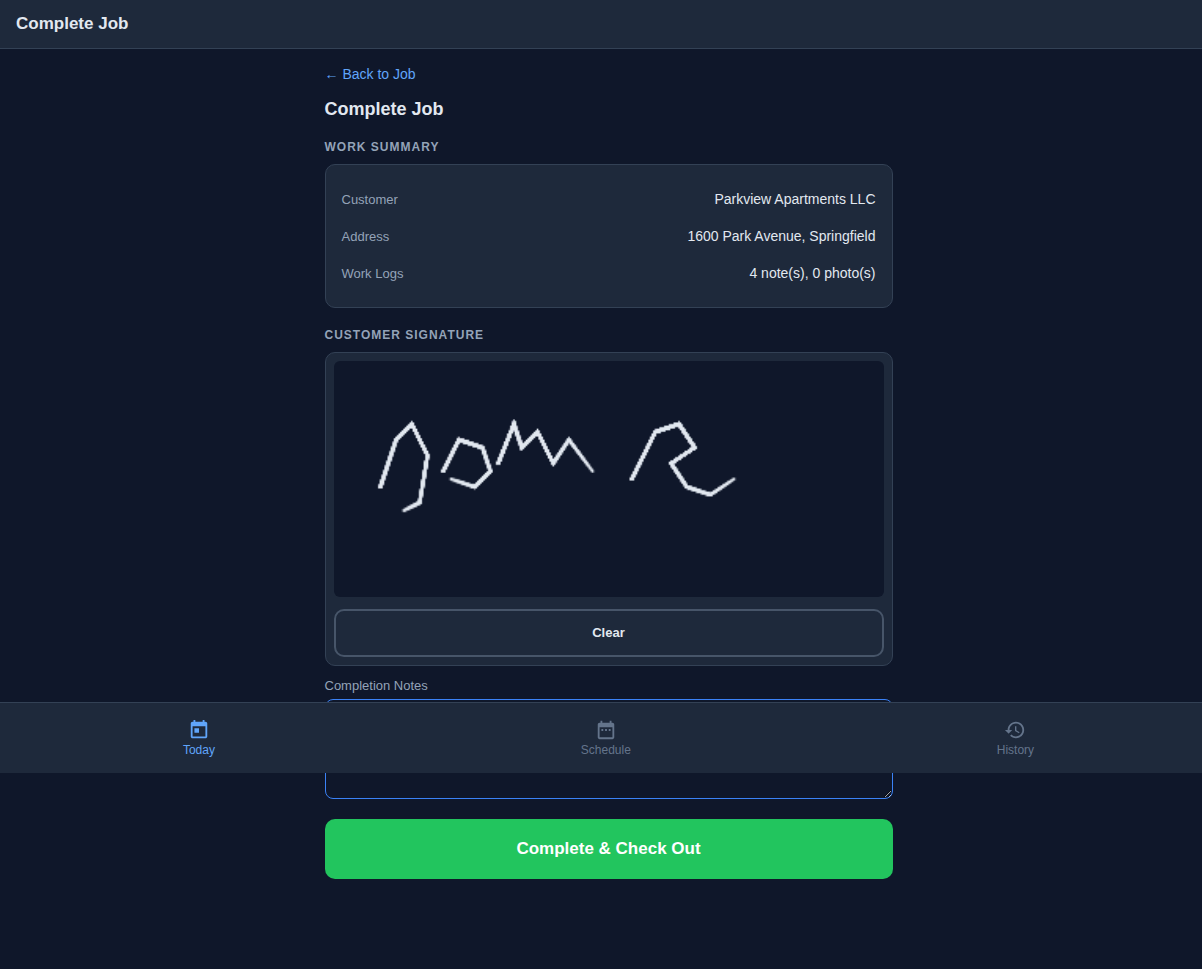
Customer Signature Canvas
An HTML5 canvas element that works with touch input on phones and tablets. The customer uses their finger to sign directly on the tech's device. There is a Clear button to start over if the signature is messy. The signature is captured as an image and stored with the job record.
Completion Notes
A final text field where the tech can add any wrap-up notes — "customer requests follow-up in 2 weeks," "recommend quarterly service plan," or "entry point sealed at garage door."
The "Complete & Check Out" button finalizes the job, transitions it to COMPLETED status, and records the check-out timestamp. This creates a complete time-on-site record: check-in GPS time to check-out time.
- HTML5 touch-enabled signature canvas — works on any phone
- Clear button for signature do-overs
- Signature stored as image with the job record
- Completion notes for follow-up recommendations
- Creates check-in to check-out time record
Step 11 Job Completed & Updated History
After submitting, the technician sees a success confirmation: "Job Completed — The job has been marked as complete. Great work!" The job lifecycle is now complete.
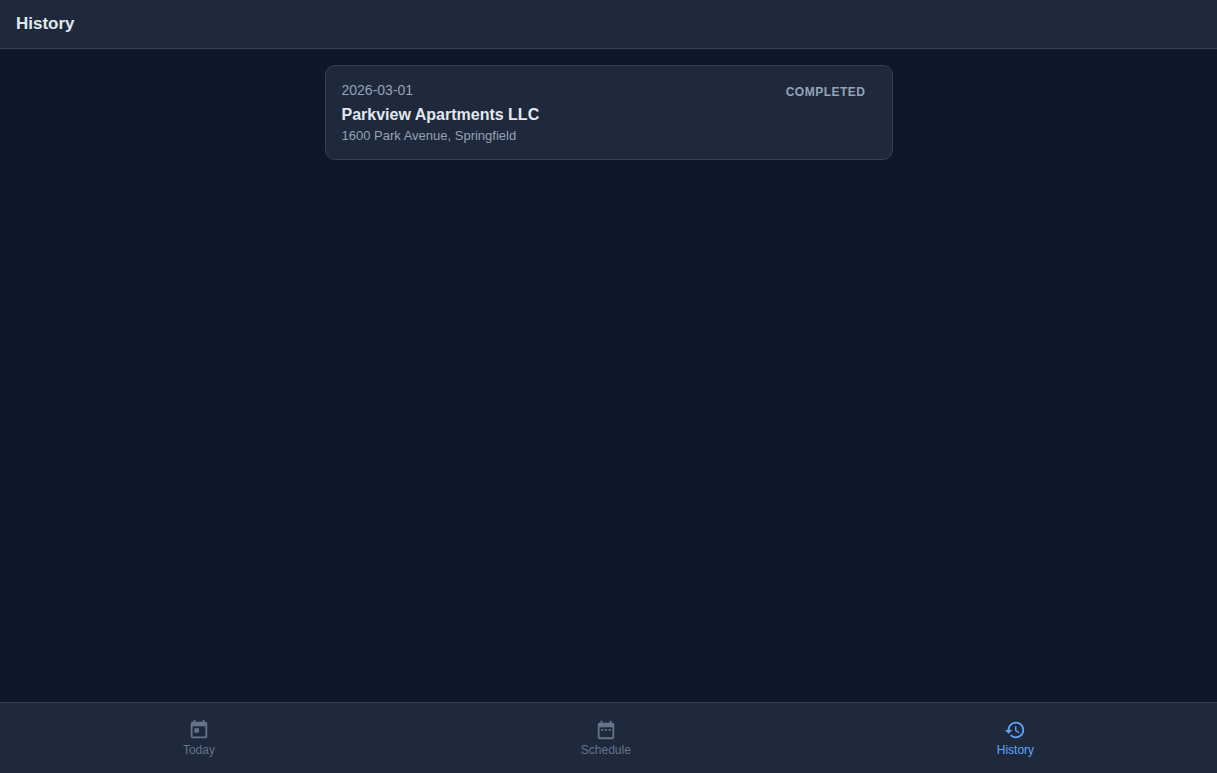
Switching to the History tab — which was empty earlier in this walkthrough — the completed job now appears with a COMPLETED badge and the completion date. As the tech works through more jobs during the day and week, this history builds into a comprehensive record of their work.
STEP 5 Job Completed — Next Actions
Once a job is marked complete, the technician sees action buttons on the job detail page. From here they can create an invoice for the work performed, or schedule the customer’s next visit — or both.

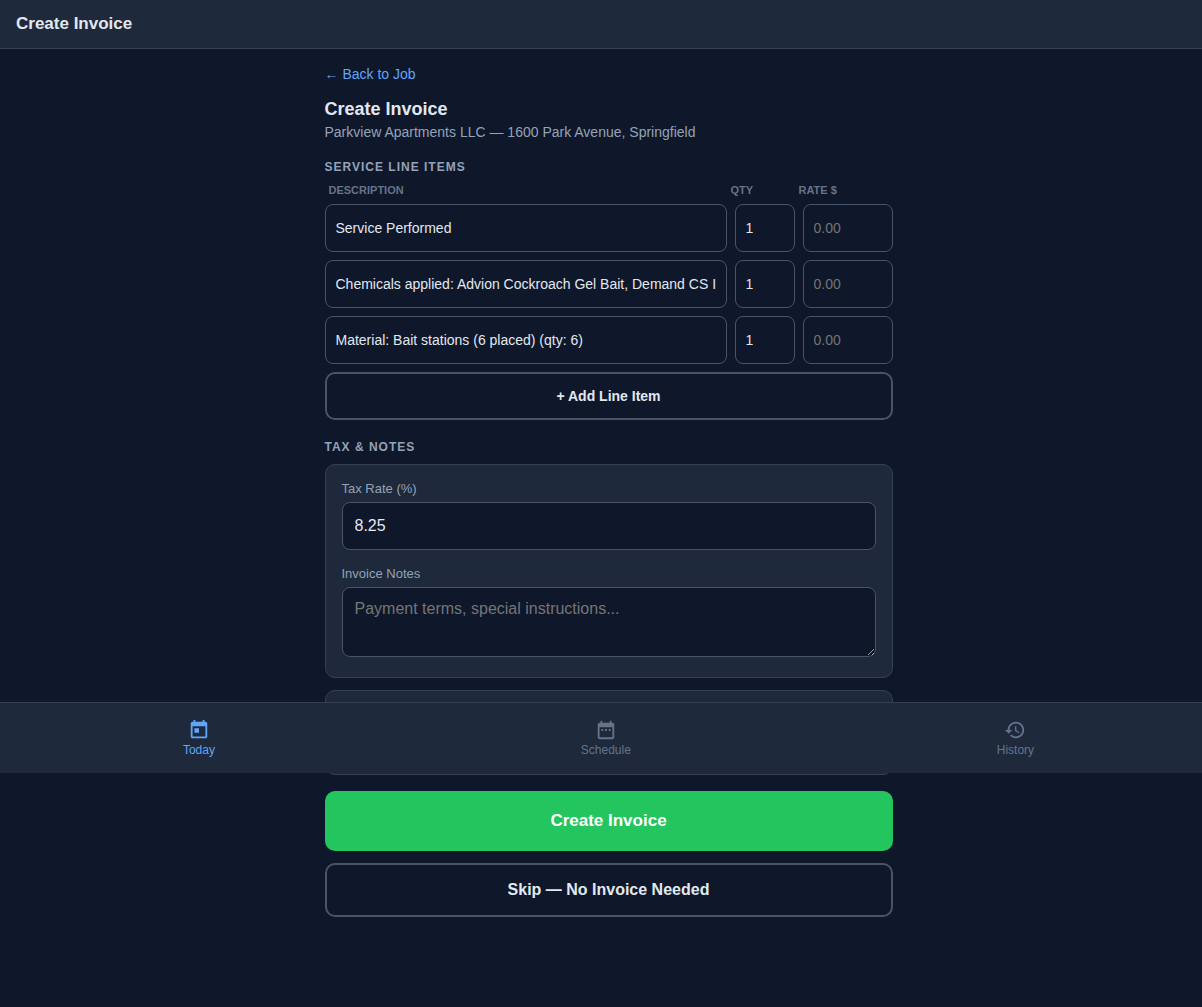
STEP 6 Create Invoice
Tapping "Create Invoice" opens the on-site invoice form. Line items are pre-populated from the work log — the main service, any chemicals applied, and materials used all appear automatically. The technician adds quantities and rates, and the total updates in real time.
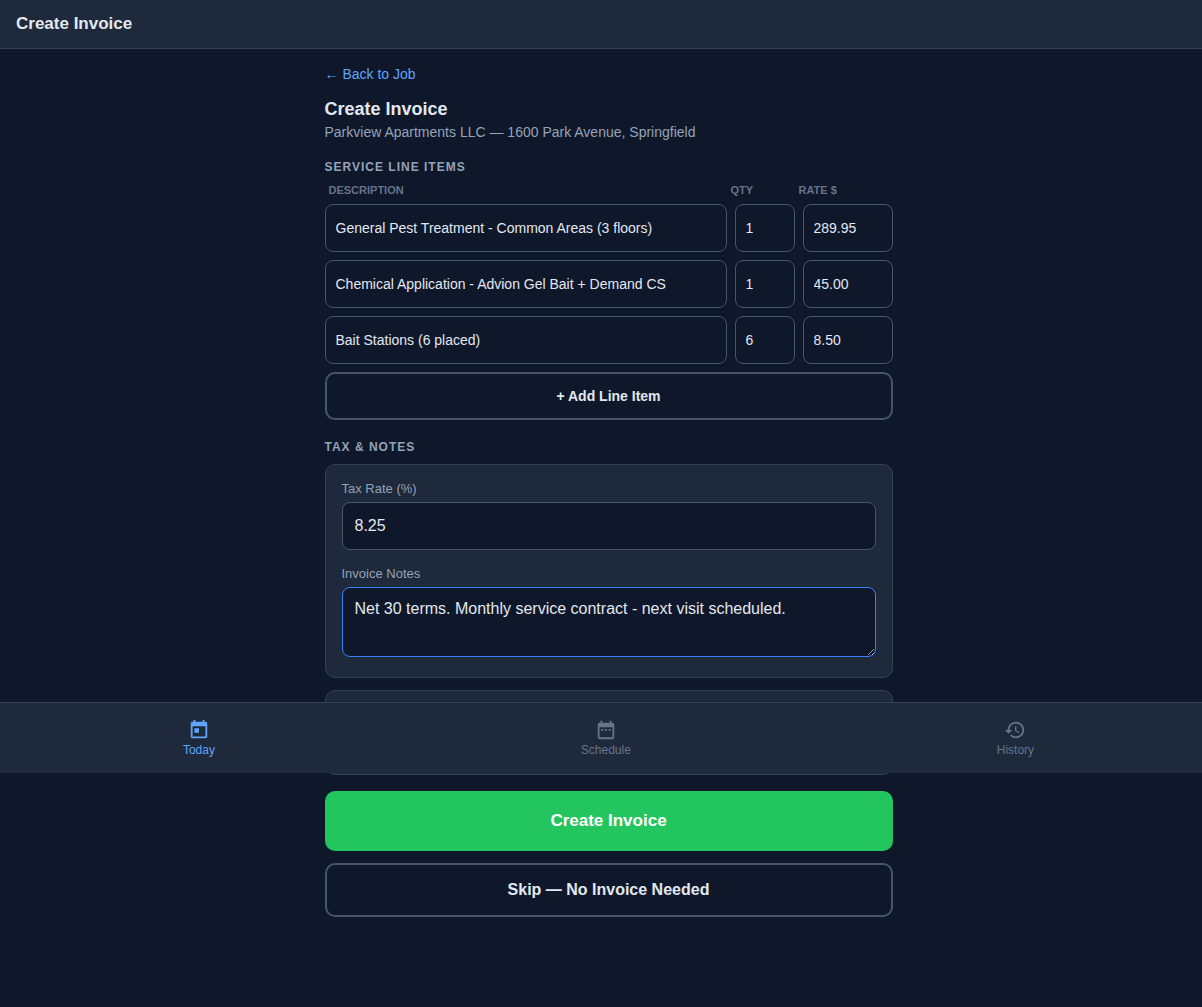
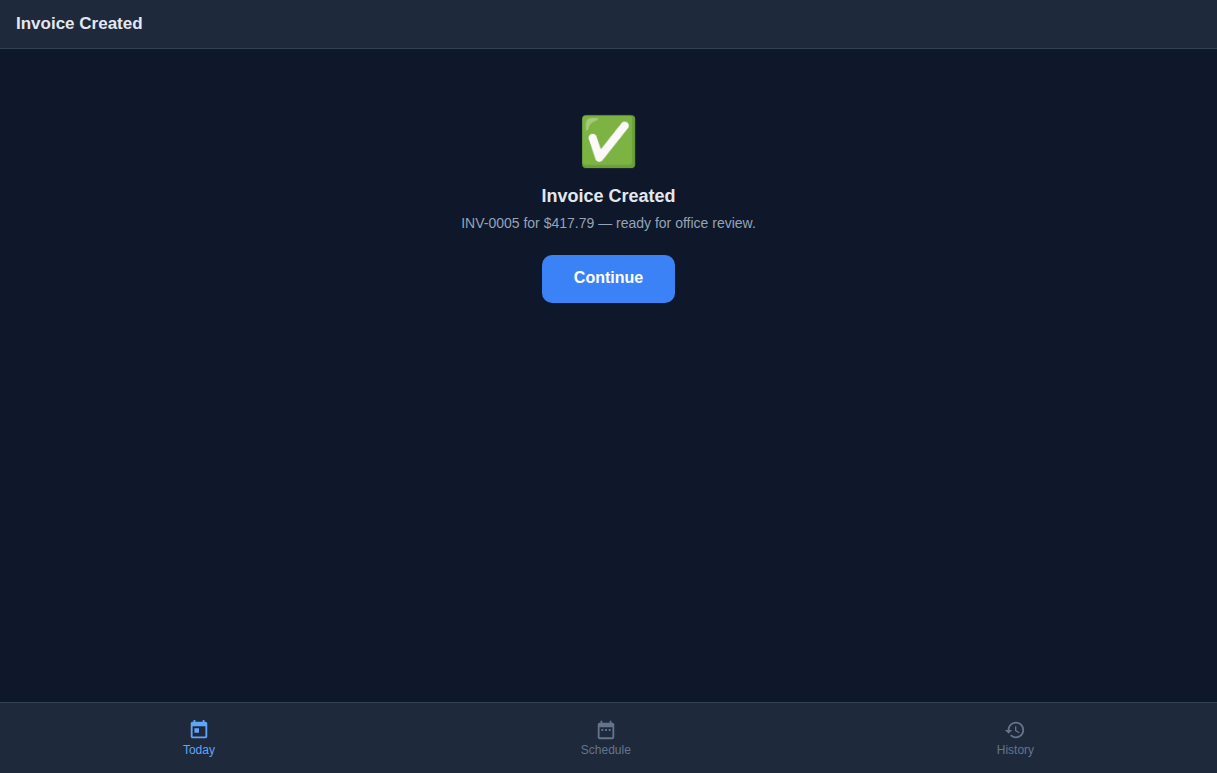
After submitting, the technician sees a confirmation with the invoice number. The invoice is saved with status draft — the office reviews and sends it to the customer.
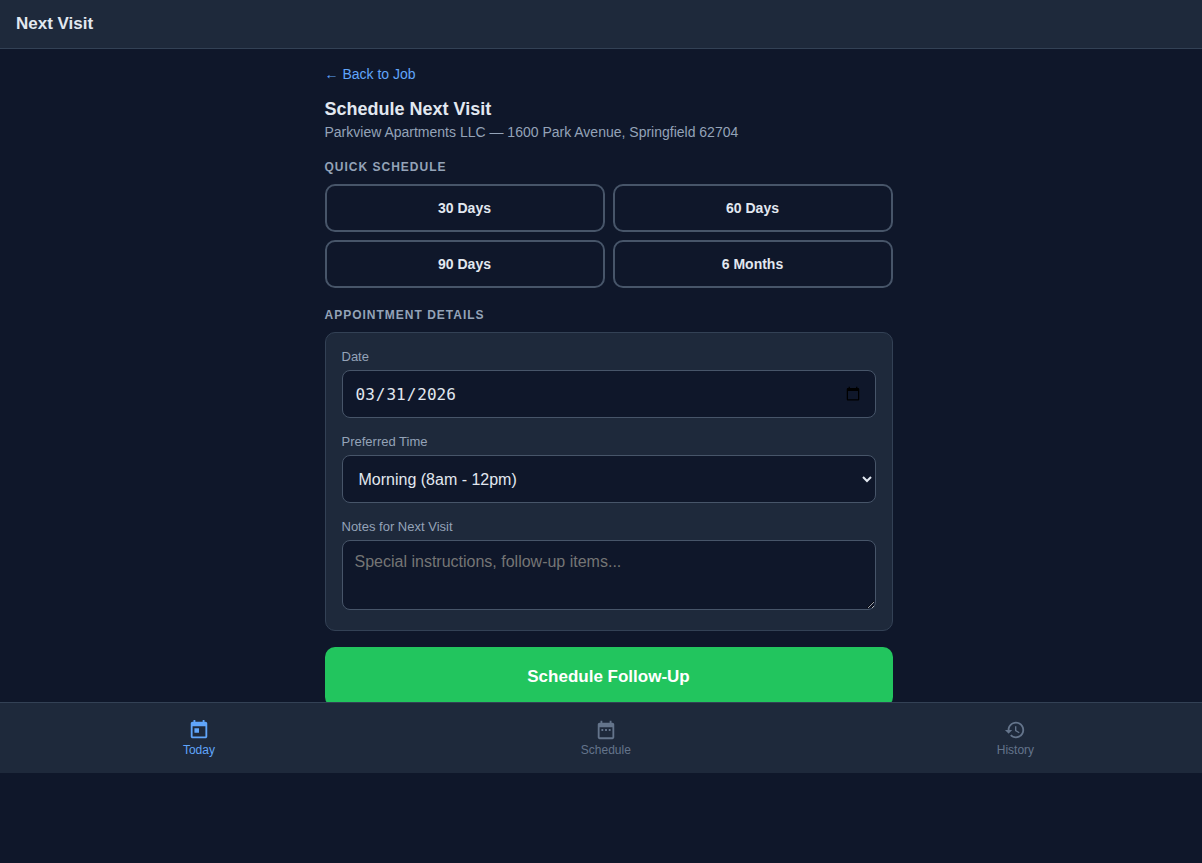
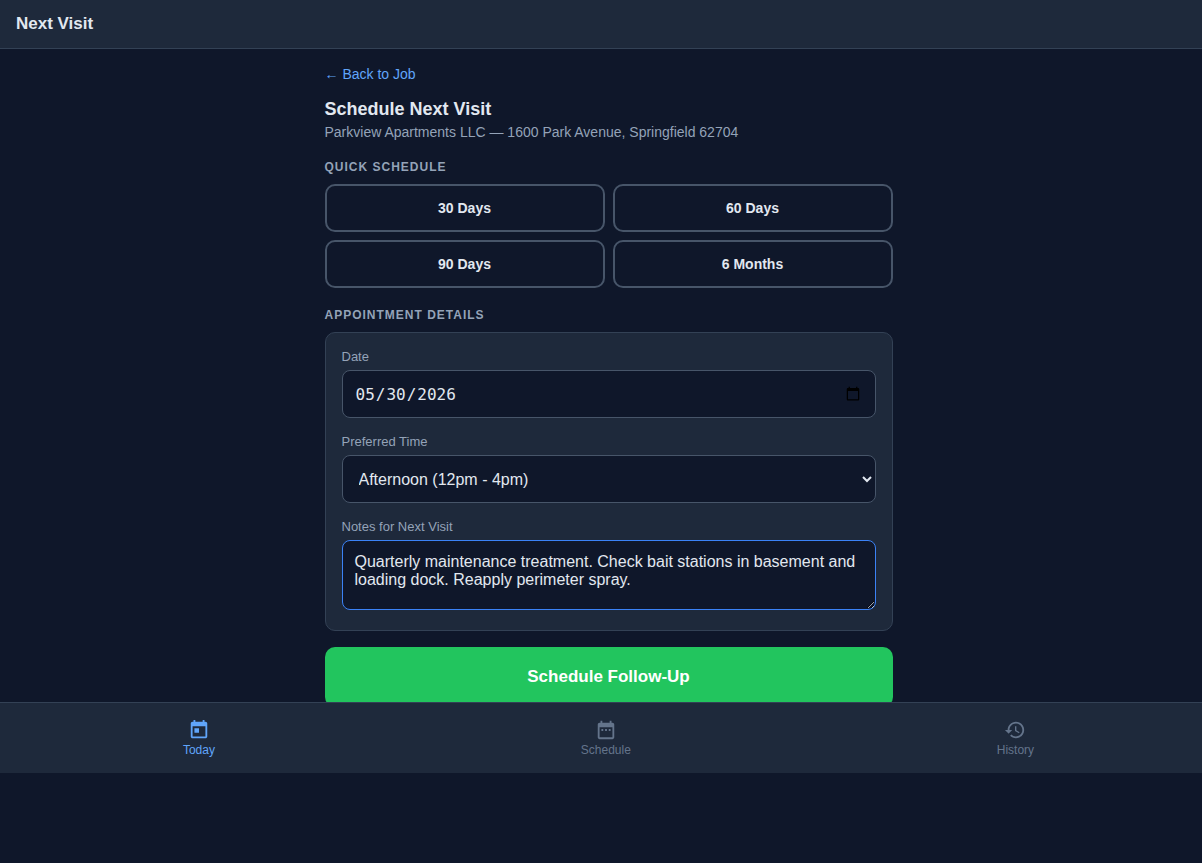
STEP 7 Schedule Next Visit
After invoicing, the tech can schedule the customer’s next appointment. Quick-schedule buttons let them tap 30, 60, 90 days, or 6 months — the date fills in automatically. They can also pick a specific date, choose a preferred time window, and add notes for the next visit.
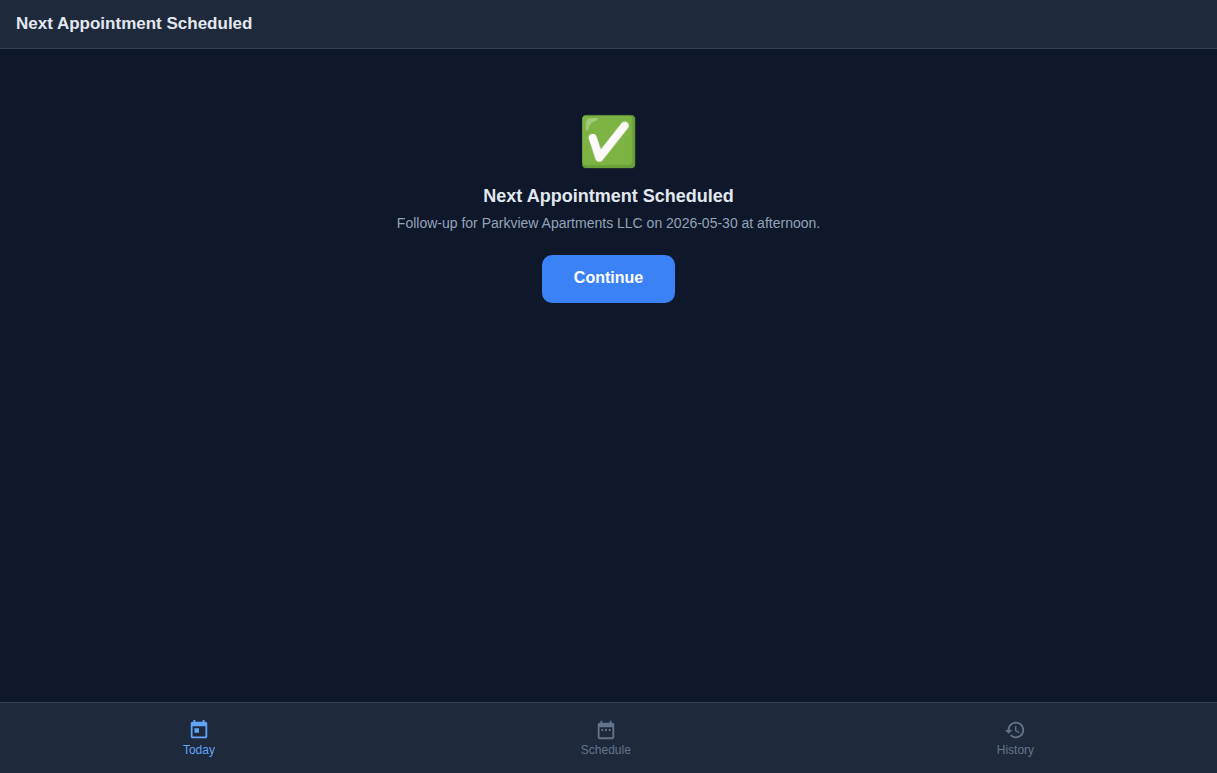
The follow-up appointment is confirmed immediately. A new booking request is created in the system, ready for the office to assign when the date approaches.
The Complete Job Lifecycle
Here is the full flow a pest control job takes through the Tech Portal:
ASSIGNED → EN ROUTE → CHECKED-IN → COMPLETED → INVOICED → NEXT VISIT SCHEDULED
Every status transition is recorded with a timestamp. The business owner gets a complete picture of their operation: when techs arrive, how long they spend on site, what they applied, whether the customer signed off, how much was invoiced, and when the next visit is scheduled.
See the Admin Side
The admin walkthrough shows how office staff manage bookings, assign technicians, track fleet status, and review invoices created by field technicians.
View Admin Walkthrough